Showing posts with label scrapbook page. Show all posts

Tuesday, June 19, 2018

Mollie's Birthday Outing


For our oldest grandaughter's 9th birthday, Pete & I took her to visit the Underground Railroad Living Museum at the First Congregational Church in Detroit.  She had learned about slavery & the Civil War in her homeschool studies this past school year.  All three of us enjoyed this interesting and educational experience!

We arrived early and were given a tour of this beautiful, historic church.  We took many photos in an attempt to capture the many amazing architectural details.  However, the Underground Railroad experience was located in the basement and no photography was allowed.

For my scrapbook page . . . 
  •  I cut out a couple of things from the brochure that I had saved. (See Tip #29)

  • I added strips of some old paper from Stampin' Up that I thought complimented the photos. (See Tip #24)

  • I noticed that lanterns were an image that was used prominently in the brochure and displays, so I used a couple of lantern rubber stamps to use as accents.  (See Tip #3) 
  • I lightly sponged brown ink around the edges of my journaling blocks, to further the "time-worn" look.  (See Tip #35)


If you are visiting any historical sights this summer (or anytime), perhaps these tips can be useful to you as you are creating your scrapbook pages.

For any questions or information about ordering Stampin' Up projects, you can email me at godismydelight@yahoo.com.




Thursday, March 1, 2018

Oregon Scrapbook Pages


Pete & I recently returned from a trip out to Oregon, where we visited our son and his family.  Sometimes we think it would be nice if we lived closer to each other, but one good thing about it is that it gives us an opportunity to spend time in such a BEAUTIFUL PLACE!  
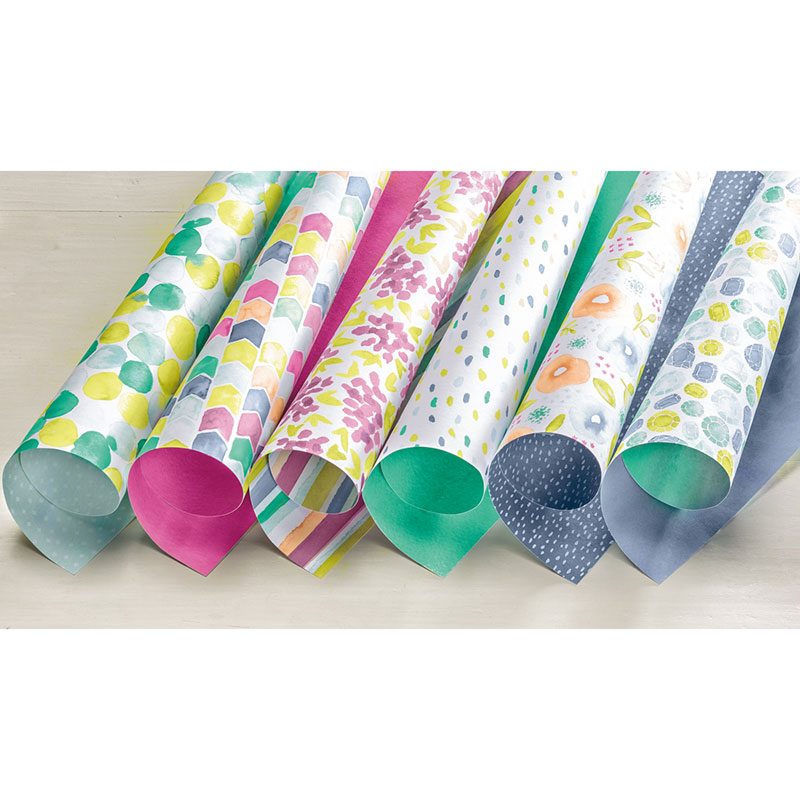
Being surrounded by both gorgeous scenery and grandchildren, we naturally took lots of photos!  Near the end of our visit, I was browsing through the photos we had taken & started planning my scrapbook pages.  I realized that the Naturally Eclectic paper from Stampin' Up would look great with my photos.  
Image result for naturally eclectic designer series paper
I knew the blue & green would go nicely with the beach & aquarium photos.  And the pinkish purple would match a lot of my grandaughters' clothes!   And besides, all of the sheets have sort of a water-colored look to them, which goes perfectly with the typical rainy weather of the Pacific Northwest.

However, this was paper that I did not have, so I went ahead and ordered it online.  It arrived on my doorstep a couple of days after we got home, and by then I had printed my photos.  I was all set to create some pages!


The pages came together pretty quickly.  I used several tips that I have shared here before in previous blog-posts:  


SIMPLE STAMPING TIP #3 - Look for elements (colors, accents, patterns, etc) in your photos that you can repeat on your page.

SIMPLE STAMPING TIP #7 - Stamp directly onto patterned paper.


SIMPLE STAMPING TIP #10 - Print some of your photos as "wallet sizes" in order to fit more photos on a page.


SIMPLE STAMPING TIP #15 - Cut images out of patterned paper to use as embellishments.


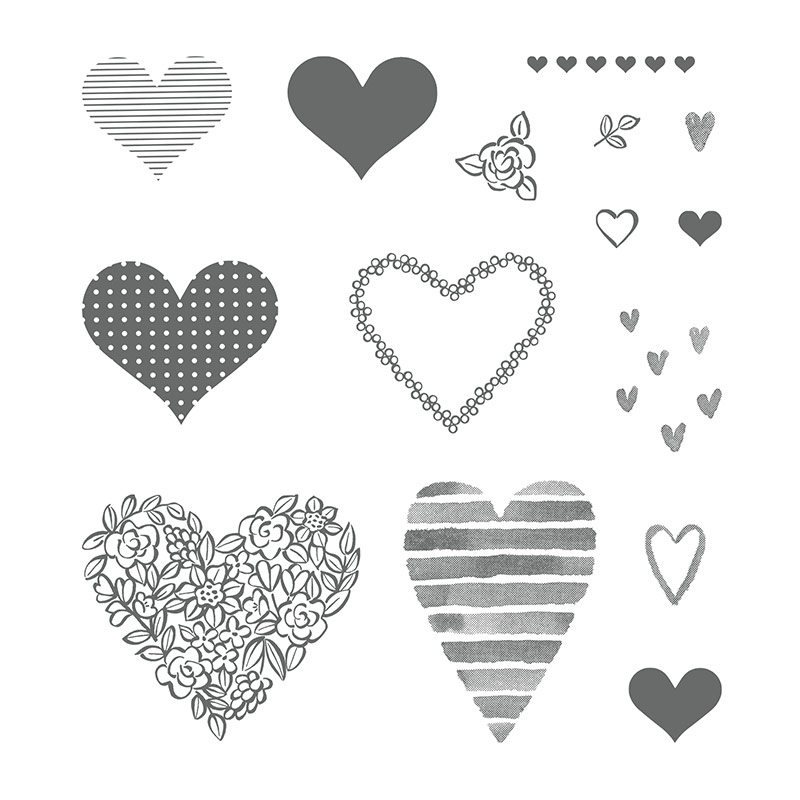
SIMPLE STAMPING TIP # 28 - Invest in a set of heart rubber stamps to use on a variety of cards & other projects.


Image result for heart happiness stampin up
Heart Happiness stamp set, Occasions Catalog, p 20

So, this latest trip is literally "in the books"!  It is so nice to be able to look at these pages; not only to remember what a great time we had, but also to reflect on the blessings of family and the beauty of God's creation.


Thursday, January 4, 2018

Christmas 2017 Scrapbook Page


This is the scrapbook page that I created with a few photos from our Christmas.  All of my scrapbook pages are very simple, but this one may be the most simple one yet!  

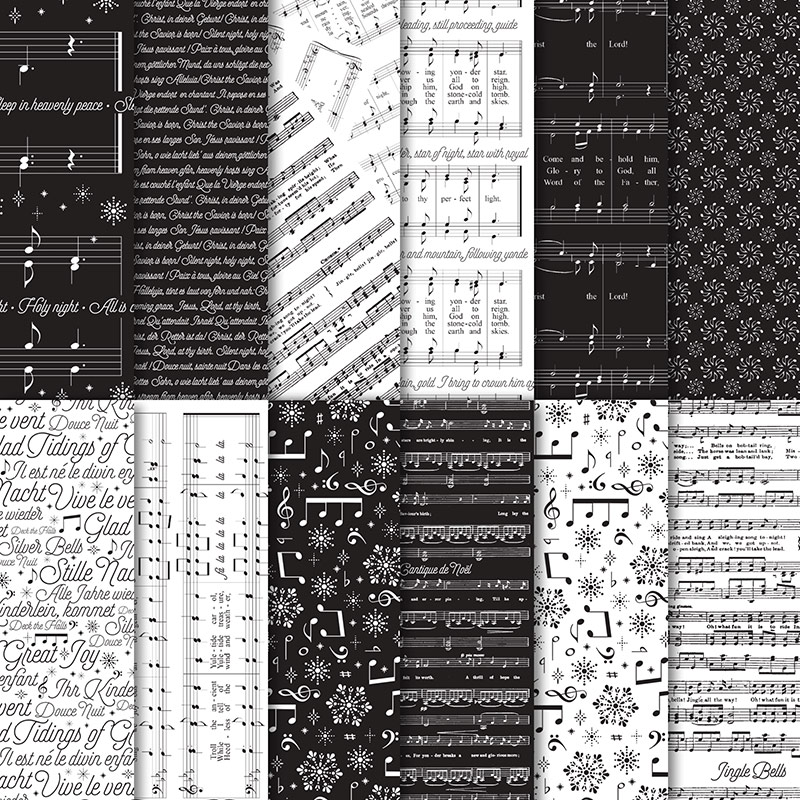
I always begin my scrapbooking process the same way . . . by laying out all of my photos.  What I noticed was that there were a lot of patterns in the photos (in mine & DeDe's sweaters, in the rug, etc).  So I knew then that any embellishments would need to be "quiet", so they wouldn't compete with the photos.  As I looked though my Christmas-themed patterned paper, the one that I thought would work best was this simple black/white paper from the Merry Little Christmas collection.  Then it seemed natural to use black cardstock as my background.  My photos took up most of the room, so the only other element I used was the journaling tag.  At first, I was just going to have a block of white cardstock for the journaling, but then I thought that cutting off the top corners to make it look like a tag, would give it more of a Christmas look.  The red tinsel trim added a festive touch.  And that's it!  I am pleased with how it turned out.

SIMPLE STAMPING TIP #24 - Use narrow strips of patterned paper to border your scrapbook pages. 

As you can see, scrapbooking doesn't have to be time-consuming or expensive.  I hope that as we begin the new year, that you will feel inspired to put some photos into a scrapbook!  

Thursday, December 14, 2017

Childhood Christmas Scrapbook Page


Christmas can be a very nostalgic time, can't it?  Each year as I get out my Christmas decorations and hear Christmas songs, I can't help but remember the Christmases from my childhood.  I have only a FEW photos, but a LOT of memories.  So I put the the photos & memories together and came up with this page for my childhood scrapbook.


Even though I don't have many Christmas photos that were taken during my childhood, I do have several items from that time.  So I grouped those items together and photographed them for my scrapbook page.  I found the catalog image by googling "1970's Sears Wishbooks".  I looked on you-tube for the pictures of the record albums (and also enjoyed listening to some of the songs!).  What a fun trip down "Memory Lane"!

This is the cover of my scrapbook:

 I only occasionally work on this scrapbook.  Usually whenever I'm feeling especially nostalgic.  I have used various things from the cover as decorative elements on each page, such as the denim paper, buttons, lace, and the colors.  To give the book a cohesive, consistant look, I have used the same cardstock for my background pages, I have made all of my title blocks basically the same & all of my journaling is done on strips.  You can see how I incorporated all of this on a few other pages: 


SIMPLE STAMPING TIP #22:  Create a meaningful keepsake scrapbook by gathering photos from your childhood, sorting them into categories, and pairing them with your memories. 

Do you have many photos from your childhood?  Have you put them into an album?  If you would like to begin, and need any help or supplies to get you started, let me hear from you!


Thursday, December 7, 2017

Christmas Scrapbook Pages


This is the page that I made with our photos from last Christmas.  All of these photos make me smile, every time I look at them!  Christmas seems like a "magical" time for children and the photos that we take at Christmas capture that excitement.  Just look at that photo of Lincoln in the photo at the top left side of the page . . . he was absolutely thrilled to get a Bumblebee transformer!

Even if you are not a scrapbooker,  I encourage you to do something with at least your Christmas photos, so that your family members can look at them in years to come.  Last Sunday, Pete took this photo of Caitlin, looking through a  small album of Christmas pictures of when she was a little girl.   I love that Evie is getting a glimpse into her mom's childhood!  This is why I make scrapbook pages!


Making a scrapbook page of your Christmas photos doesn't have to be complicated or time-consuming.  Simply print your best photos, mount them on a page, write a line or two of memories, & add a few embellishments.  The easiest way is using patterned paper.  

SIMPLE STAMPING TIP #5:  Cut "un-necessary" parts out of photos.  Arrange photos on page and fill in empty spaces with patterned paper.


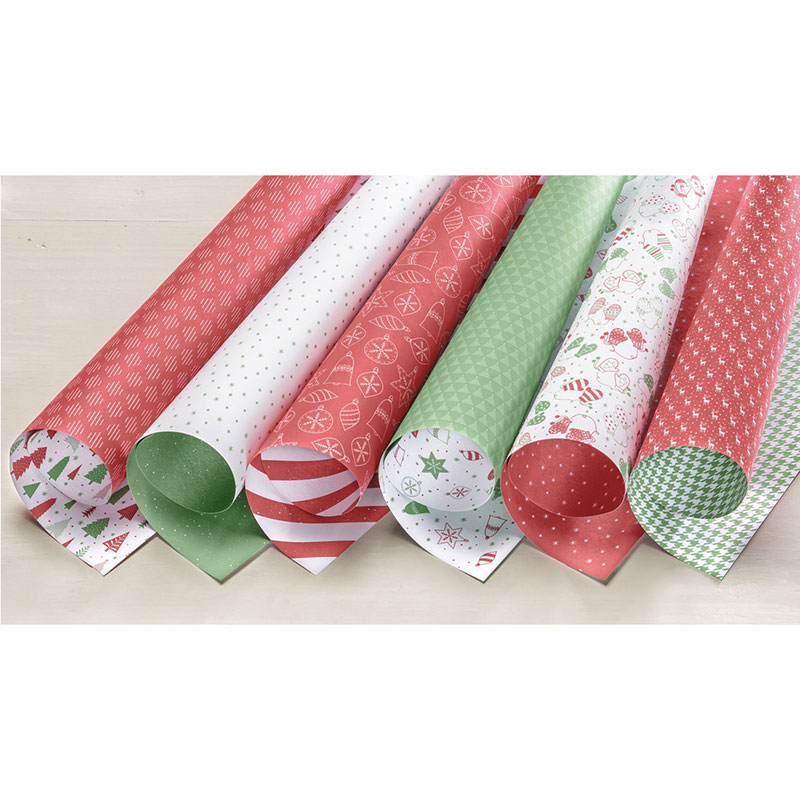
Here are the paper collections that are in the current Stampin' Up catalogs:

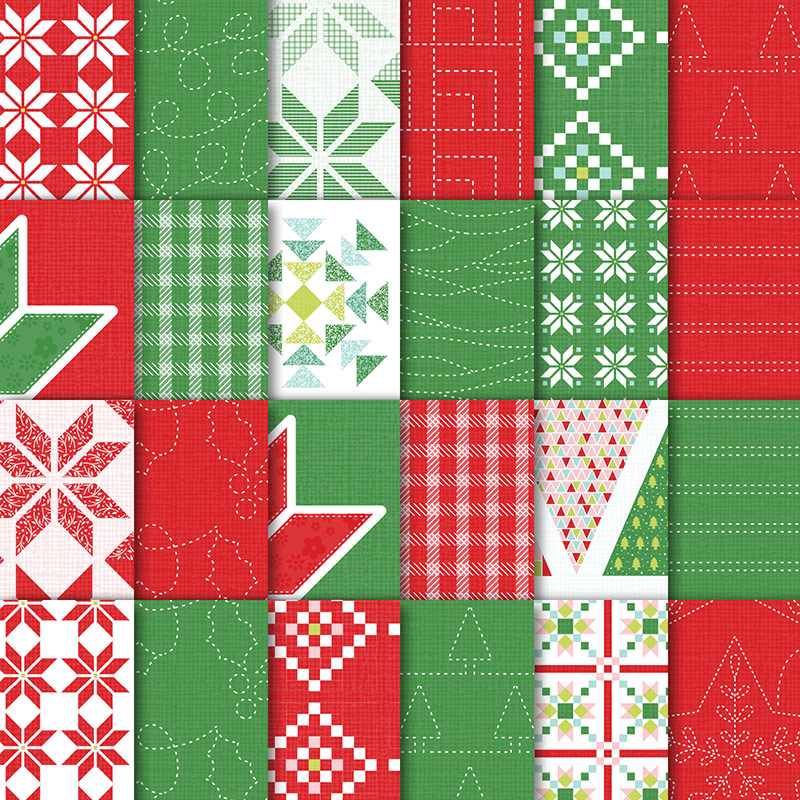
Image result for quilted christmas stampin up paper
Quilted Christmas

Image result for merry little christmas stampin up paper
Merry Little Christmas

Image result for merry music stampin up paper
Merry Music

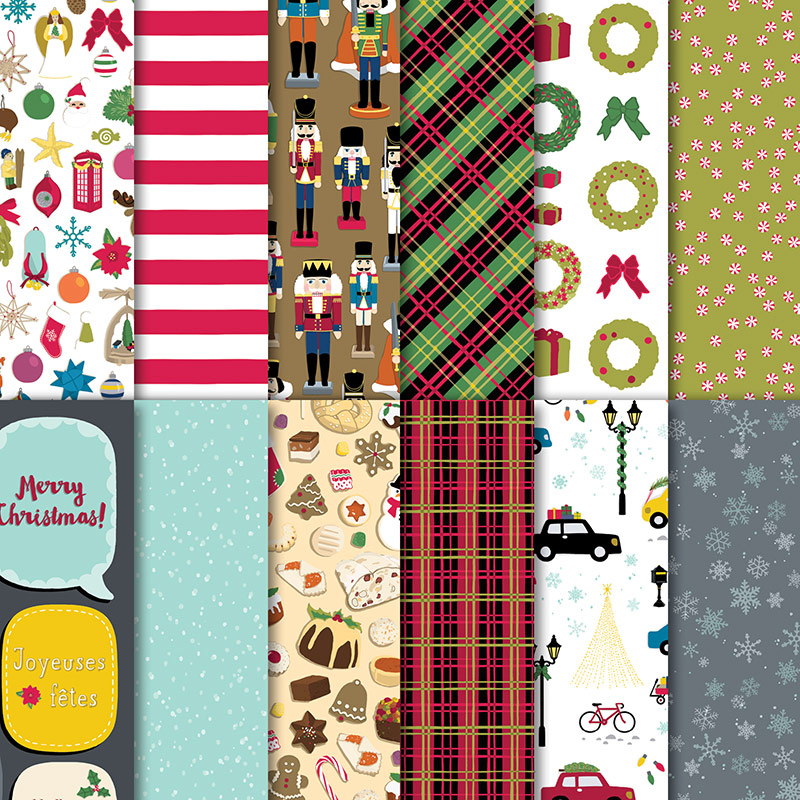
Image result for christmas around the world stampin up paper
Christmas Around The World

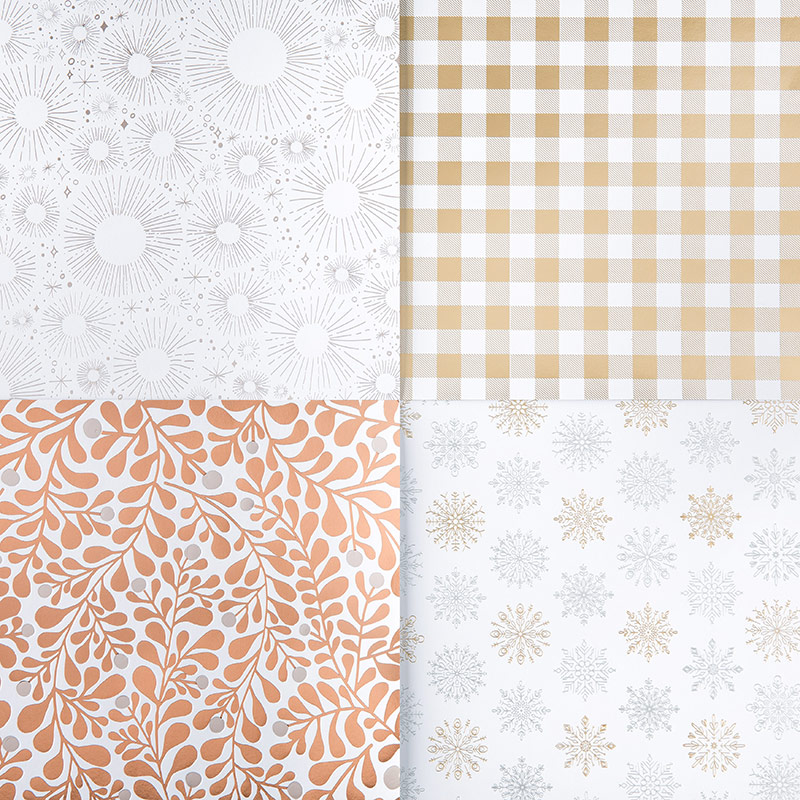
Image result for year of cheer stampin up paper
Year of Cheer
Image result for be merry stampin up paper
Be Merry


Any of these papers would look great paired with YOUR photos!  Let me know if you would like to order a pack, so that you can make your own Christmas scrapbook pages.

Thursday, August 31, 2017

Lake Michigan Scrapbook Page


Pete and I recently enjoyed one last summer outing.  We had a very nice day out in South Haven, on the coast of Lake Michigan.  It was our first visit to this picturesque town and we were excited to explore!  

I just completed this scrapbook page so that we can easily remember our experience there (which is harder to do if your photos only stay in your computer or on your phone!).  Today I want to share with you a couple of tips that I used to create this simple page.

SIMPLE STAMPING TIP #10:  Print some of your photos as "wallet sizes", in order to fit more photos on a page.

"

Not only will you be able to use more photos, you can also place them so that they overlap some of the "blank" spaces in larger photos, like I did here with the sailboat photo.  

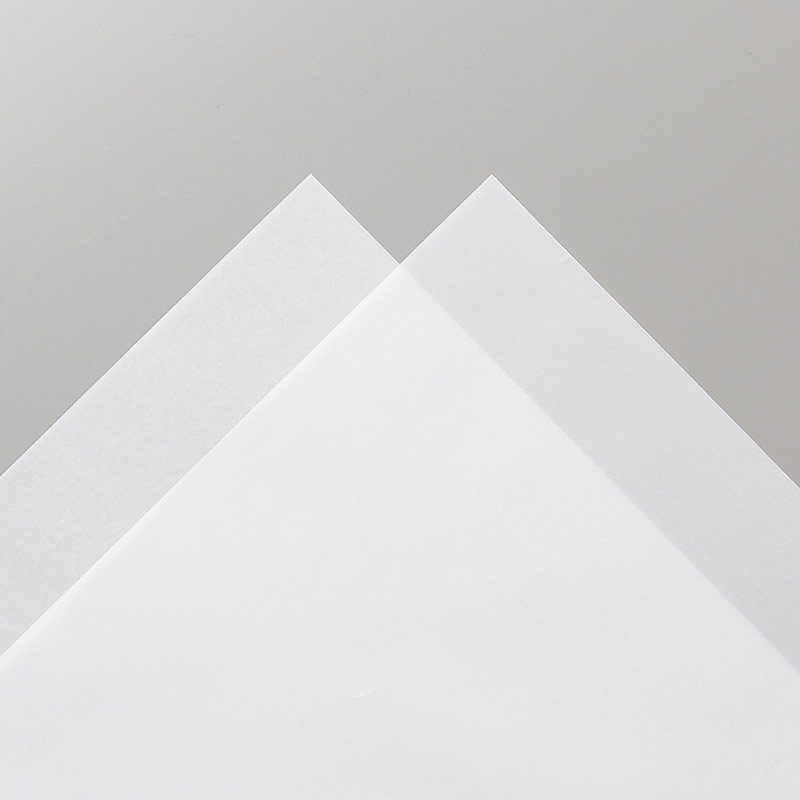
SIMPLE STAMPING TIP #11:  Use vellum when you need a perfectly neutral color and also as an element on water pages.


As I looked at the photos I wanted to use on this page, I could not think of any color that would look right for my title block.  I was stumped for awhile, until I happened to think of vellum cardstock.  As soon as I pulled it out, I knew it would work!  If you look closely, you will see that I tore the left & right edges, to create a look that mimics the waves in the water.
Image result for vellum cardstock stampin up
The vellum looks rather un-impressive in the photo above, but it looks amazing when used on cards and scrapbook pages. It is translucent and is perfect for a subtle, delicate touch.   Stampin' Up sells it in a pack of 20 8 1/2 x 11 sheets for $8.00.  

I had so many photos I wanted to use, that there wasn't room for many embellishments.  (The photo of Clementine's is actually a postcard.)  The only stamps I used were alphabet stamps for the title and as the first letters in my journaling blocks.  I added just a bit of color with the tiny red strips on my journaling blocks, which goes with the red in the lighthouse, Pete's shirt, & the bricks of the restaurant.  I tied some linen thread on the title strip, which is inspired by the rope that is in the photo of the harbor.  As always, look at your photos to get ideas for how to embellish your page.  

I hope that those are useful tips for anyone reading this who is interested in scrapbooking.  My goal for this blog is to show you that it doesn't take a lot of supplies, time, or money to create meaningful pages and cards!  Please let me know if I can be of any help to you in your stamping or scrapbooking projects.  (email address:  godismydelight@yahoo.com).

Thursday, August 17, 2017

Scrapbooking With Lots Of Love


It's hard for me to believe that it's been nearly three years since I visited my relatives in Pennsylvania!  I usually try to get my photos into scrapbooks soon after they are taken, but I really put off making a page with these photos, mainly because I wasn't satisfied with the quality of the pictures. ("High-quality people in low-quality photos" was a caption I read recently and which applies here!)  But it was such a meaningful trip, that I knew that I needed to make this page. This was the last time I saw my sweet Aunt Dot, who suffers from Alzheimer's disease.  Not long after my visit, she rapidly declined and went to live in a care facility.  I will always be thankful that I was able to spend these few days with her.  

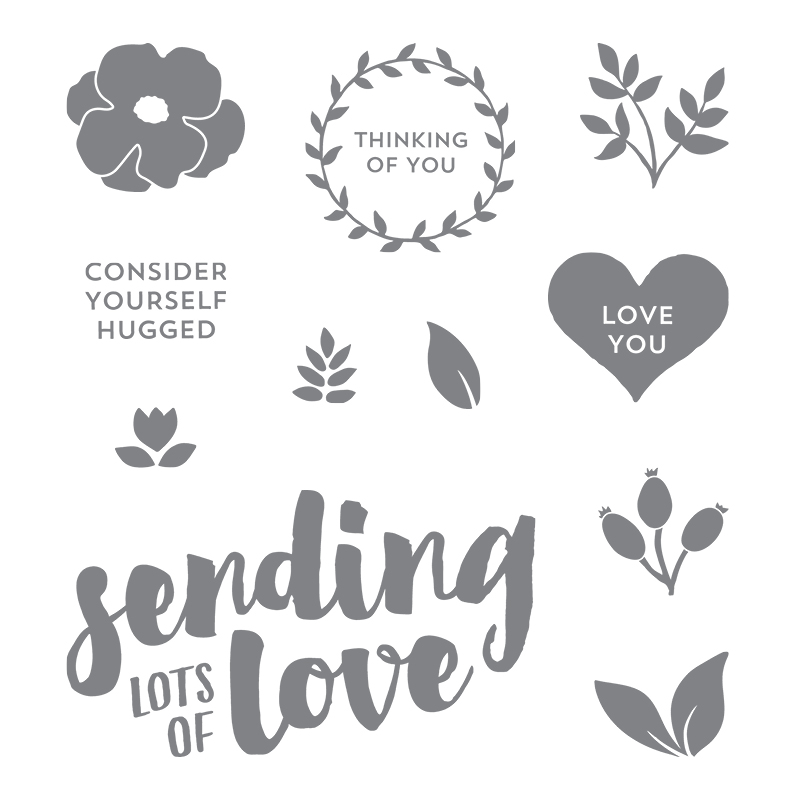
So a couple of days ago, I spread the photos out on my desk.  And I was stuck for quite awhile!  My usual techniques of creating a page weren't working.  There were no predominant colors or repeating elements in the photos.   I couldn't come up with a good arrangement of the photos, no matter how much I moved them around.  I looked through my newest purchases from Stampin' Up and pulled out a beautiful pack of patterned paper called Whole Lot of Lovely, along with the coordinating stamp set, Lots of Love.  I knew when I saw those items, that they had the "feeling" that I wanted to convey.  So I set to work, playing around and gradually my page came together.  Here's a list of what I like about this page:
  • Using black cardstock as the background gives a classic look to the page and causes the yellow & white accents to stand out.
  • The words on the Tres Chic background stamp (retired) express perfectly my feelings when I think about these family members (memories, happiness, genuine, adore, laugh, together, heartfelt, etc).
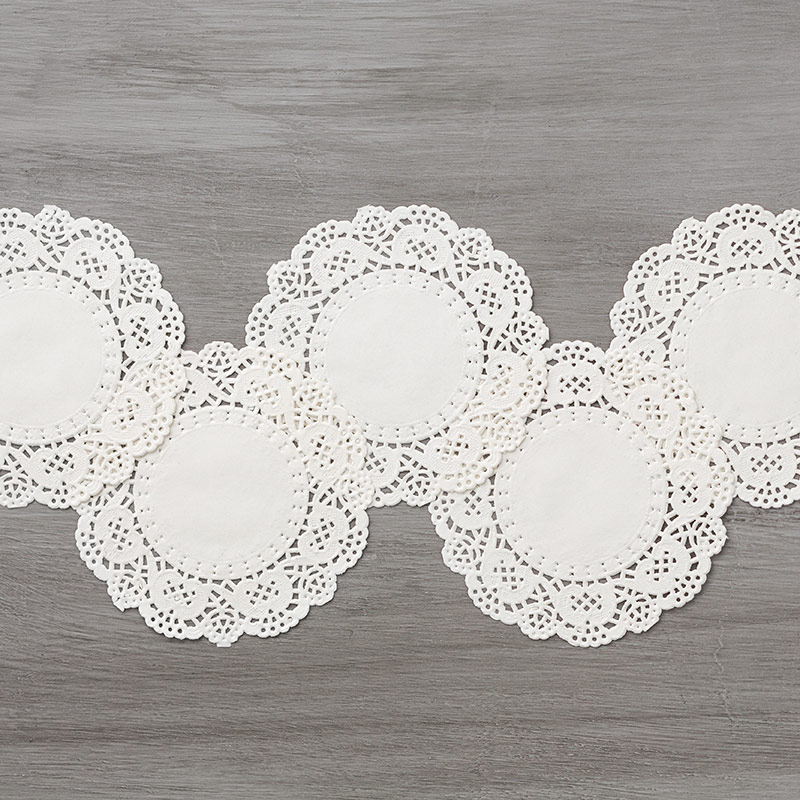
  • The paper lace doilies help to soften the bright yellow pieces & the larger photos.  They are simple accents, but give a lot of impact to this page.  (By the way, a pack of 24 of these little doilies only costs $3; a very inexpensive way to dress up your scrapbook pages & cards!)

Now that I finally have these photos on a scrapbook page, I don't even notice the fuzziness of some of the photos!  What I do notice is the way my heart is full of warmth and love for these sweet family members!

Here is a closer look at some of the products I used:
Image result for lots of love stampin up
Image result for whole lot of lovely stampin up
Image result for delicate white doilies stampin  up

Here is my simple stamping tip for this week:

SIMPLE STAMPING TIP #9:  Group your accents on scrapbook pages in "threes".

 Take another look at my page & notice how I placed my doilies in three different places, as well as my yellow accents.  


Thanks for reading my post today; I hope you feel inspired to make a scrapbook page with some of your photos (even if they are of "low-quality")!  If you need any supplies, you can browse through the catalog by clicking on the catalog image in the sidebar and then following the ordering instructions under "shop now".  Please let me know in the comments below or by email (godismydelight@yahoo.com) if you have any questions.

Thursday, July 13, 2017

Scrapbook Pages with Delightful Daisy Paper (and a giveaway)


My very favorite accessory to use in stamping or scrapbooking is patterned paper.  It is versatile and inexpensive.  Most of our 12" x 12" paper costs $11 for a pack of 12 double-sided sheets.  I've already shown in previous posts my favorite paper from our Stampin' Up catalog.  It is called Delightful Daisy and the images are so perfect for summer!  This was the first item I purchased out of the new catalog, and I've already created several projects from this one pack.  And I still have a lot of paper left for more projects!

My husband & I recently took our oldest two grandaughters with us on a trip to visit our parents.  The trip was nine days long, and you can imagine that we took a lot of photos!  The pages above show the fun that we had.  

I made one page that was about the drive itself.  It was about 9 hours each way, so we had lots of time to make memories in the car!  Then I made a page from our visit with Pete's parents and a page from our time with my mom and her husband.  To keep things simple and to create a cohesive look, I used the same colors, papers, & stamps on each page.  This also helped the pages to come together pretty quickly.  The stamp set I used for the titles is the Brushwork Alphabet set. Here is a tip that I always use on my pages:

SIMPLE STAMPING TIP #5:  Cut "un-necessary" parts out of photos.  Arrange photos on page and fill in empty spaces with patterned paper.

There are a lot of other embellishments that could be added to dress up scrapbook pages (and occasionally I use more), but I find that by using a minimum amount of embellishments, the focus stays on the photos.  Plus, it makes it a lot faster to get pages done!


Here is a look at all 12 designs that come in this pack of paper.  Aren't they pretty?  I would like to give away a pack of this paper to one of my subscribers.  So if you haven't subscribed yet and would like a chance at winning this beautiful paper, look to the right for where it says "Follow By Email".  Enter your email address in the box and click "submit".  You will receive an email confirmation shortly afterwards, to which you will need to respond to.  (If the email doesn't show up in your in-box, check your spam box.)  I will randomly choose a winner next Thursday, July 20, at 10:00 am, EST.  If you are the lucky winner, I will notify you by email.  So, subscribe to win!

Here are a few more of the many cards that I've used with this paper:


Here is a reminder of the special that is going on this month at Stampin' Up.  If you place a $50 order, you will receive a $5 coupon code that can be used on an order in August.  You can order by browsing the catalog on the right and then clicking the Shop Now button.

I will be back next week to share another simple stamping tip and to announce the winner of our give-away!