Thursday, February 22, 2018

Cards For March


For my cards to use during the month of March, I made an assortment of cards, all featuring the same supplies, and using an easy water-coloring technique.  
What you see in the photo above is what happens when you squeeze a closed Stampin' Up ink pad.  You end up with a nice spot of ink on the inside of the top.  Then, if you use an Aqua Painter to add a bit of water, you get a little puddle of watercolor. 

For my March cards, I simply brushed the color over the sentiments that I had stamped in black ink.  I think this technique works especially well with fonts that are big and bold.                                                                                  
               
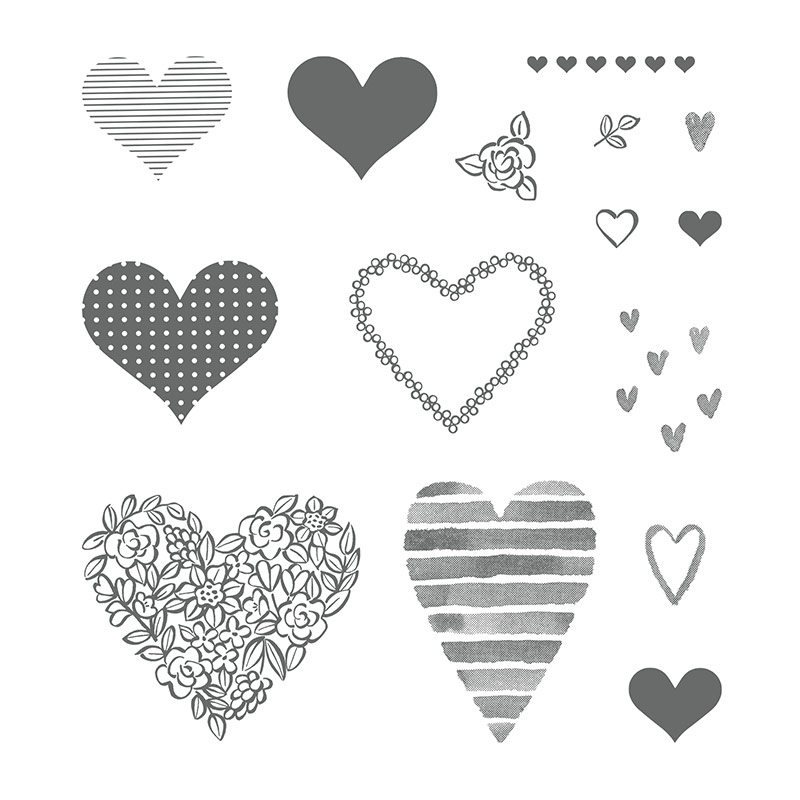
Lots of Love stamp set, Annual Catalog page 87

The "hello" stamp is retired from Stampin' Up.  The scripture stamp is from Our Daily Bread.

SIMPLE STAMPING TIP #30 - Paint a wash of color over words that are stamped in black ink.


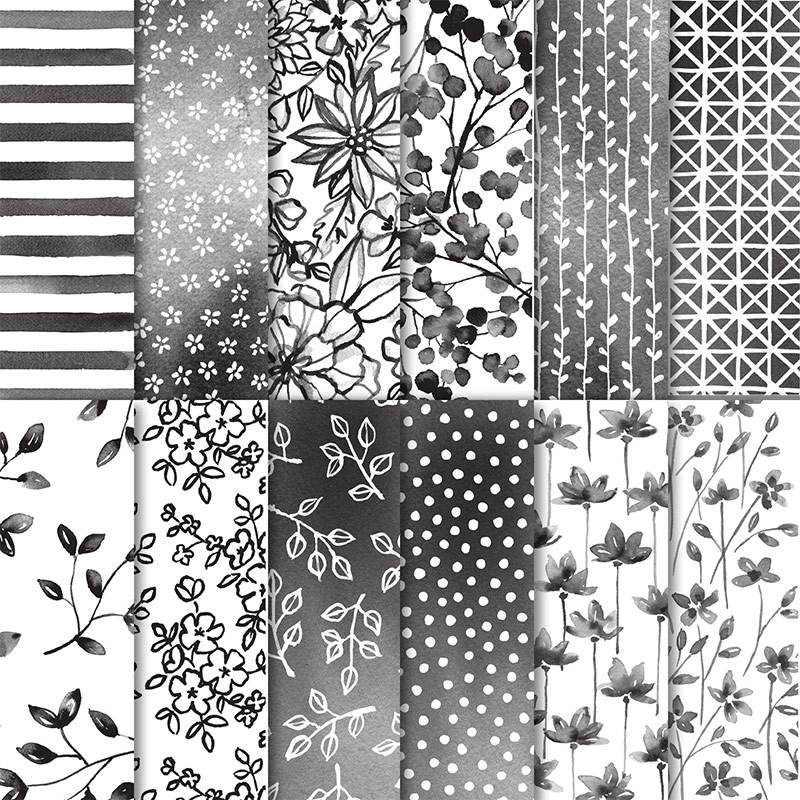
You may recognize the black & white background paper . . . it is the same paper I've used for several cards & scrapbook pages over the past several weeks.  I liked pairing it up with the green color in these cards . . . it gives just a little hint of the promise of spring!

Image result for petal passion dsp stampin up

Petal Passion designer series paper, Occasions Catalog page 23

The Aqua Painters are available from Stampin' Up in a set of two brushes (one medium brush tip and one large brush tip) for $17.  I've been using the same brushes for over fifteen years, so it seems that money was well-spent!

Let me know if I can answer any questions about this technique, supplies, ordering, or anything stamping-related!


Thursday, February 15, 2018

Remembering Aunt Dot


My husband and I made a short trip to Pennsylvania last month to attend the funeral of my Aunt Dot.  (I have written about her before on my blog; click here.)  It was such a short trip, but so special that I wanted to create a scrapbook page about it.


SIMPLE STAMPING TIP #29 - Document the events you attend by pairing photos and the program or other memorabilia.


I saved the program of her funeral and used it on this page.  The cover page of the program shows the beautiful stained glass from her church, where the funeral was held.  I took a photo of the inside of the program and used that on the bottom part of the page.  The little picture of her on my title block was also from the program.  I love the fact that my Aunt Dot planned the songs and scriptures herself a few years ago.  And I also love having these photos of her on this page!


This side of the page shows my dear Uncle Bob and my cousins, Linda & Mary.  As we were growing up, they always lived in Pennsylvania & I always lived in Tennessee.  We only saw each other once a year and now that we are adults, we don't see each that often.  But we share some wonderful memories and spending the short amount of time with them on this trip helped to strengthen that family bond!

The photo below is a close-up shot of my journaling block.


This page came together very quickly, using small pieces of paper cut from the Petal Palette designer series paper.
Image result for petal passion dsp stampin up

I've been using this a lot lately, mostly for cards, and I like how casual, yet elegant this paper looks.  For a fun little touch, I used the dotted paper, as an ode to Aunt Dot.  Polka dots have a bright & cheerful look, which matches Aunt Dot's personality. 


This is how the page originally looked, but I felt that it was lacking something, but I wasn't sure what.  


Do you see what I added?  As I was looking at the page, I noticed tiny bits of red in the stained glass window, in the photos of Aunt Dot, & in Mary's sweatshirt. So I added some red ribbon & that was the perfect finishing touch. 

The reason I make scrapbook pages is to have an easy and tangible way to remember the blessings that God has given me.  What are the ways that God has blessed you?  I hope you feel inspired to put photos of those blessings into a scrapbook!

Thursday, February 8, 2018

Hearts, Flowers, & Romance


A few days ago I was flipping through the pages of my church directory and noticed that this sweet couple is about to celebrate their 61st wedding anniversary.  Well, to my way of thinking, that is definitely worthy of a card!  To add to the romance, they married on Valentine's Day.


 Naturally, I chose hearts to use as the focal image on their card.  I stamped two hearts from the Heart Happiness stamp set, "fussy-cut them", overlapped them, & then adhered them to a sheet of paper cut from the Petal Palette designer series paper.

SIMPLE STAMPING TIP #29 - Invest in a set of heart rubber stamps to use on a variety of cards and other projects.

Image result for heart happiness stampin up
Heart Happiness stamp set


Image result for petal palette dsp stampin up

Petal Passion designer series paper

The sentiment I chose from the Petal Palette stamp set works perfectly with the two stamped hearts.

Image result for petal palette stampin up
Petal Palette stamp set


By the way, have you seen the new Love postage stamps?  I "love" the combination of script and flowers!


So I hope you see that hearts, flowers, and romance are not only for Valentine's day . . . love can be celebrated every day of the year!

Thursday, February 1, 2018

Two Little Bears

 For today's card, I am using "Baby Bear", one of my favorite stamp sets from Stampin' Up's Annual Catalog.  The teddy bear image is stamped using three different images, each one adding a layer of fur.  This is what gives it that realistic look.
Image result for baby bear stampin up
As you can see from the sentiments that are included in this set, it can be used for many occasions.  I stamped the card above with no one particular in mind; I just wanted to have a card ready to send to the next person I hear about who could use a hug!

I changed up the colors for the card below, and I might use it as a Valentine card.


For both of these cards I used the Quilt Top embossing folder, to carry out the "cozy/comfort" theme.  This was an item from the Holiday Catalog, which has expired.  But this is one of the products that is still available.  Embossing folders are a very quick & easy way of adding a nice textured background.  

The tip that I am sharing today is one that you are probably already doing, if you are a paper-crafter.  

SIMPLE STAMPING TIP #28 - "Fussy-cut" stamped images and mount on your card, to use as the focal point.

So, did you know the term for that is "fussy-cutting"?  I first heard someone say it just a few years ago, although I'd been doing it for years, and it struck me as funny!  I would probably refer to it as "precision-cutting".  Anyway, images don't always have to be stamped directly on to the front of the card.  Sometimes you may want to make a bigger impact by fussy-cutting them and then you could make them stand out even more by using dimensional dots, which is what I did on these cards. 

If you have questions about these cards or would like to order any stamping supplies, you can email me at godismydelight@yahoo.com.