Showing posts with label birthday cards. Show all posts

Thursday, March 29, 2018

Cards For April

 For my April cards, I chose the Perennial Birthday set that is found in the Occasions Catalog.  This would be a perfect set for someone who is new to stamping because it contains both birthday greetings and floral stamps.  

This is what I came up with for a "guy version" of this card:
(Notice that I used the "rose" stamp to make balloons.)

I used the same design for both cards.  Just a rectangle with the greeting on a banner.  This would work with just about any stamp set!  Also, the rectangle could be just a piece of patterned paper.  I lifted the rectangle up using dimensional dots and I used my Banner Triple punch for the banner. 

SIMPLE STAMPING TIP #34:  For a quick card design, pair up a rectangle with a banner.

Here is a look at all of the stamps in the Perennial Birthday set:
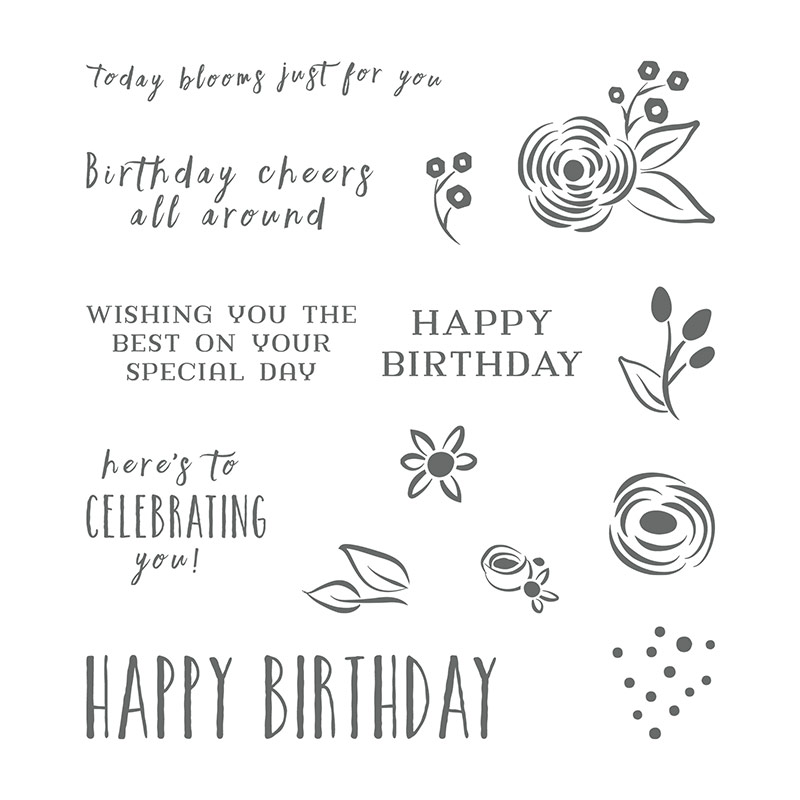
Image result for perennial birthday stamp set stampin up
If you need any stamping supplies or have any questions, email me at godismydelight@yahoo.com.

Thursday, August 10, 2017

Inspired By A Dress


Not long ago, my youngest grandaughter was wearing this cute dress.  It reminded me of a stamp set (called "Happy Birthday Gorgeous) that had been on my wish list for awhile.  Seeing her with that dress was the motivation I needed to go ahead and order it!

When the stamp set arrived, I kept thinking about that dress and wanted to make a card using the same colors.  I decided to create my own "background paper" by stamping the flowers all over a square piece of white cardstock. To make the background that pretty turquoise color, I simply sponged on some turquoise ink.  For embellishment, I added the ribbon and just a bit of a paper lace doily.  What I like about this card is how the scallopped edges of the roses are repeated in the doily and the label.  I also like the bright happy colors!

So today's stamping tip is:

SIMPLE STAMPING TIP #8:  Make your own background paper by stamping images all over a piece of cardstock.  Add subtle background color by lightly sponging  on ink in your desired color.

If you would like to try this simple technique, all of the supplies are in the Stampin' Up catalog.  You can browse through it by clicking on the catalog image in the sidebar.  Or if you would rather hold an actual catalog in your hands, email me (godismydelight@yahoo.com), and I will be happy to put one in mail to you!


Thursday, July 6, 2017

Delightful Daisy Cards


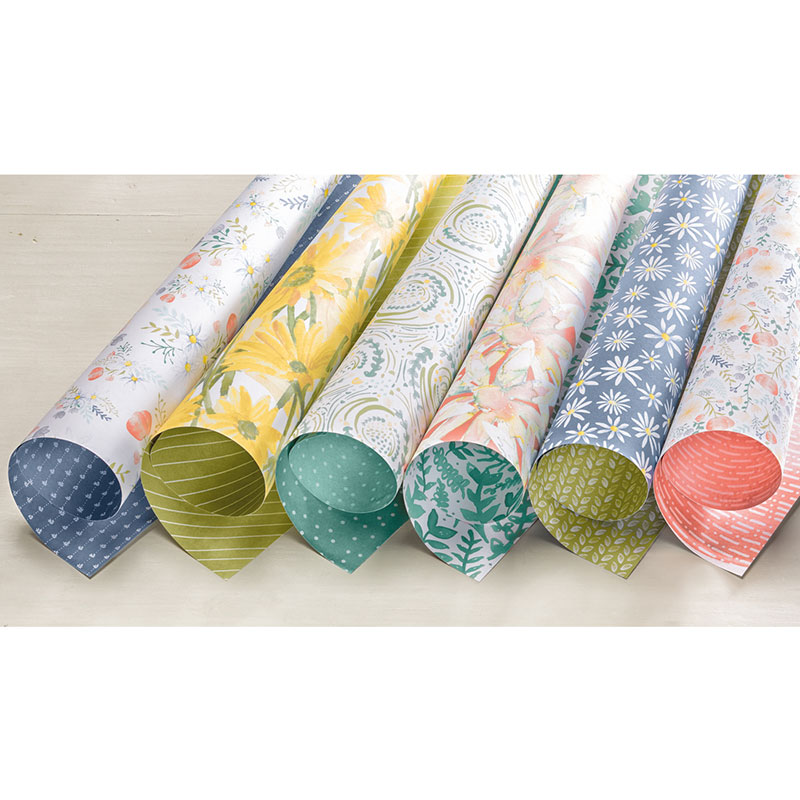
One of my favorite items from the new Stampin' Up catalog is the Delightful Daisy paper (Item #144137).  I have used it over and over again in just the month or so since I ordered it.  It comes in a pack of 12 double-sided sheets.  Here is a closer look at all of the pretty patterns:
Image result for delightful daisy designer series paper
Some of the patterns feature larger prints and sometimes it's hard to know exactly how to use them.  So here is a simple stamping tip to help you know what do to with those papers with large, bold prints:

SIMPLE STAMPING TIP #4:  Use paper with large patterns as the focal point of your card.


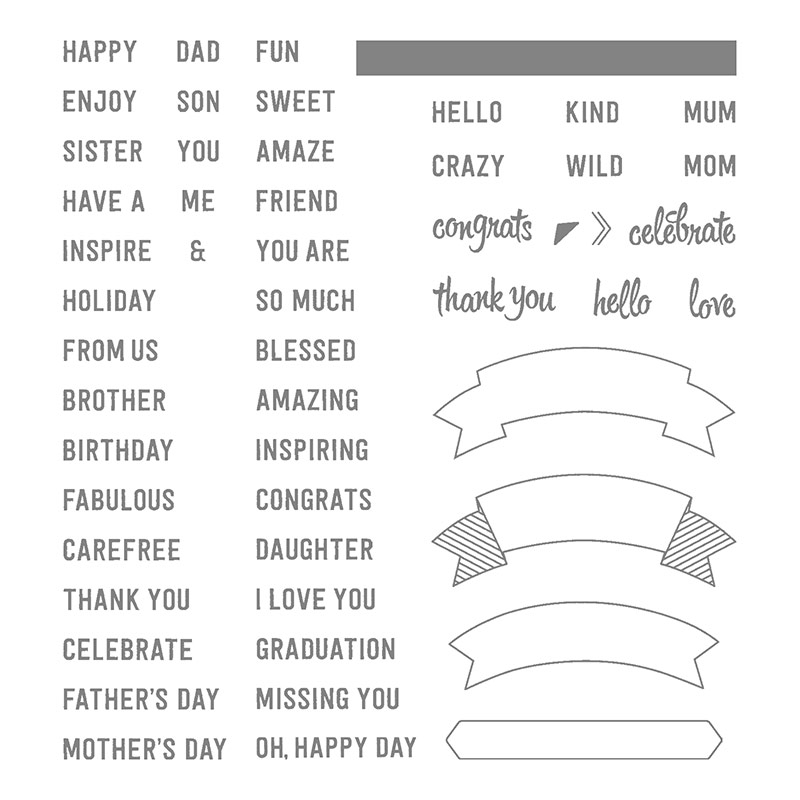
You can see that I cut a large piece of the paper to cover most of the front of the card, just as I did the card at the top of this page.  Then I stamped my greeting on a small piece of cardstock.  The words on both cards come from the Thoughtful Banners stamp set (Item #141614).  As you can see, this stamp set covers just about every occasion! 

Image result for thoughtful banners stampin up

I made this card for my sweet Aunt Dot, who recently had a birthday.  She has Alzheimer's disease and has been residing in a care facility for the past year or so.  When I saw this paper, I thought of her.  I didn't get visit her in her home very often over the years; she lived in Pennsylvania and we lived in Tennessee.  But I always remembered her yellow kitchen.  I thought it was a perfect reflection of her fun personality!  

You can see a glimpse of her sunny disposition as she is having fun with a friend in her bright, cheerful kitchen:


By the way, I also used this same paper on this birthday card for my mother-in-law.  And I used the same technique of using a large piece of the paper.  When paper is this pretty, it just seems right to let it be the "main attraction"!


If you are interested in ordering this paper or any other items, you can shop online by following the instructions in the right margin.  Stampin' Up is having a special promotion this month.  For every $50 (before shipping & tax) you spend, you will get a $5 bonus coupon that can be used August 1-31, 2017.  You will receive a coupon code via email.  If you have any stamping or ordering questions, please let me know (in the comments, on Facebook, or email godismydelight@yahoo.com).

Thanks for coming here today!  I will be back next week, sharing some scrapbook pages featuring this same pretty Delightful Daisy paper.


Thursday, June 15, 2017

Simple Birthday Card

(This card features the Stylized Birthday stamp and the Delightful Daisy designer series paper.)

Thanks for stopping by my blog!  I am looking forward to sharing my simple stamping tips with you here each Thursday. 

Here is my tip for this week:

  SIMPLE STAMPING TIP #1 ---- Copy a design from our catalog; modify if needed to fit your own style or the supplies you have on hand.

I recently received my copy of the 2017-18 Stampin' Up catalog.  I was excited to see so many new stamp sets, paper collections, and other accessories!   As I was flipping through the pages, the simple design of this card (the second one down) caught my eye:


I modified it just a bit by substituting navy cardstock as the base and using some similar ribbon.  The "happy birthday" is stamped directly onto the patterned paper.  It only took me about 10 minutes to make this card, and probably 3 of those minutes were spent tying the ribbon!  I made this card especially for my mother-in-law.


Would you like to have a copy of this beautiful new 233-page catalog?  I have 7 copies to give away.  Send me an email, with your name & address, at godismydelight@yahoo.com and I will be happy to put one in mail to you.  Then you too can copy your favorite designs for your own projects!