Thursday, June 28, 2018

July Cards + An Announcement


I know several people with birthdays in July and these are some of the cards that I recently made.  I used three new products from the current Stampin' Up catalog that I thought went together perfectly!

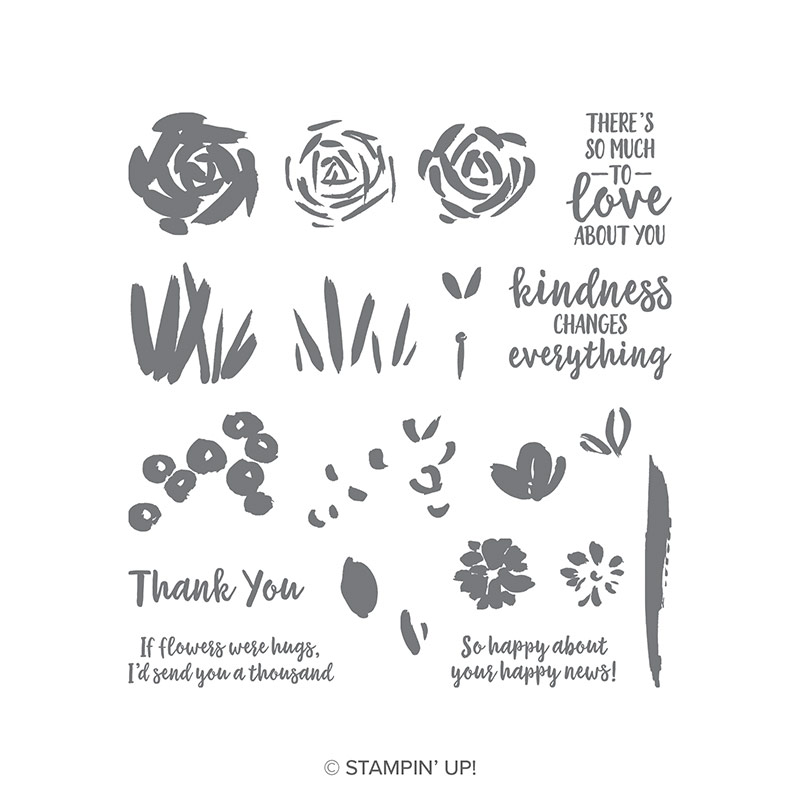
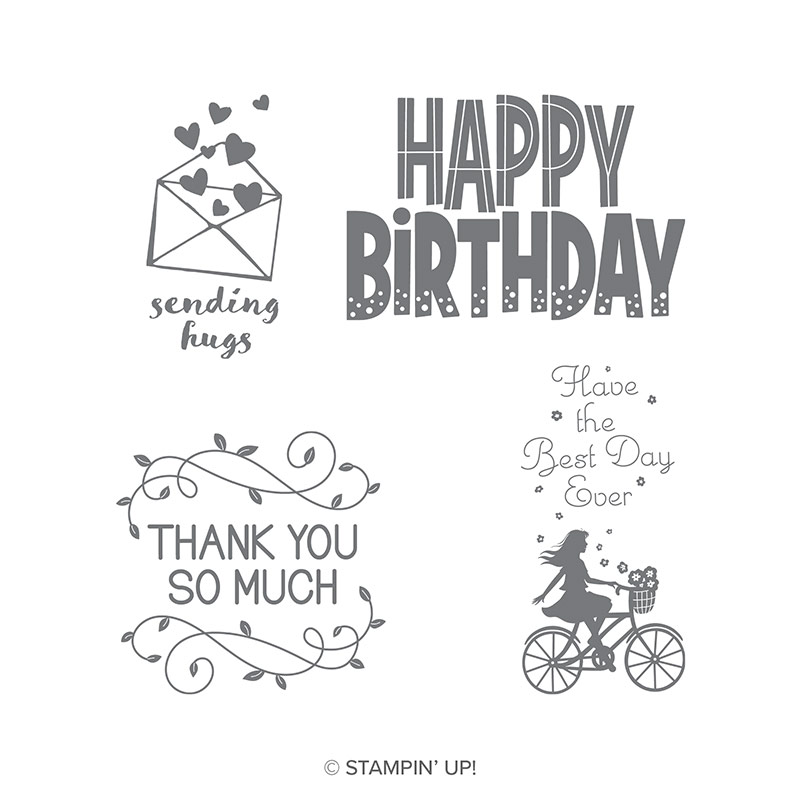
1.  One For All stamp set
One For All Wood-Mount Stamp Set


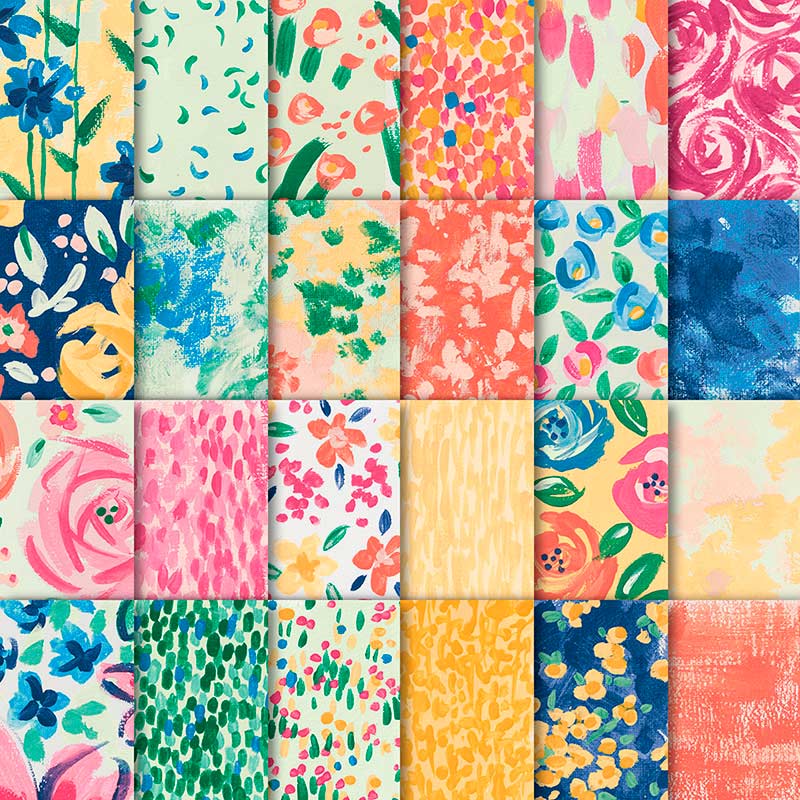
2. Brights designer series paper
Brights 6" x 6" (15.2 x 15.2 cm) Designer Series Paper

(comes in 10 different colors)


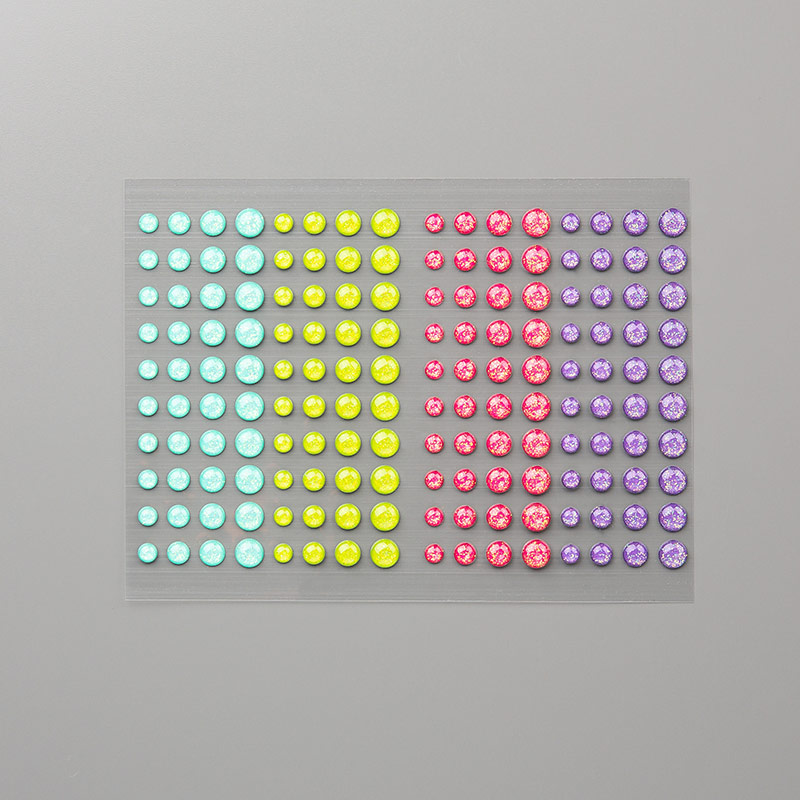
3.  Glitter Enamel Dots

Glitter Enamel Dots

The tip that I am sharing today will help you coordinate the colors that you use.

SIMPLE STAMPING TIP #40 - Use the same color for both the base of your card & the words.


Notice that both my card base and my words are stamped in blue.  This is one thing that I love about Stampin' Up products . . . everything coordinates!  For every color of cardstock, there is a coordinating color of ink, as well as other products.  In addition, all of Stampin' Up's forty main colors are divided into 4 groups:  Brights, Subtles, Regals, and Neutrals.  The colors within each group are designed to go together.  All of the colors in my cards are from the Brights group, which I think is fun to use during the summer. 

And here is my announcement . . . this is my last blog post!  I have made a decision to end my blog this week and also  to resign from being a Stampin' Up demonstrator at the end of September.  If you are still interested in purchasing Stampin' Up products through me, you can do so through the end of September by either sending me an email (godismydelight@yahoo.com ) or by following the steps that are listed in the right sidebar under "Steps to Order".  I will leave my blog up for viewing for several more months.

Also, I still have a few catalogs (241 pages of beautiful inspiration!) that I need to give away.  Just send me an email with your address & I will put one in mail to you.

Thank you for joining me here for this past year.  I have enjoyed sharing my stamping tips with you.  I will continue to stamp cards and scrapbook pages & I hope that you will too!


Tuesday, June 19, 2018

Mollie's Birthday Outing


For our oldest grandaughter's 9th birthday, Pete & I took her to visit the Underground Railroad Living Museum at the First Congregational Church in Detroit.  She had learned about slavery & the Civil War in her homeschool studies this past school year.  All three of us enjoyed this interesting and educational experience!

We arrived early and were given a tour of this beautiful, historic church.  We took many photos in an attempt to capture the many amazing architectural details.  However, the Underground Railroad experience was located in the basement and no photography was allowed.

For my scrapbook page . . . 
  •  I cut out a couple of things from the brochure that I had saved. (See Tip #29)

  • I added strips of some old paper from Stampin' Up that I thought complimented the photos. (See Tip #24)

  • I noticed that lanterns were an image that was used prominently in the brochure and displays, so I used a couple of lantern rubber stamps to use as accents.  (See Tip #3) 
  • I lightly sponged brown ink around the edges of my journaling blocks, to further the "time-worn" look.  (See Tip #35)


If you are visiting any historical sights this summer (or anytime), perhaps these tips can be useful to you as you are creating your scrapbook pages.

For any questions or information about ordering Stampin' Up projects, you can email me at godismydelight@yahoo.com.


Thursday, June 14, 2018

Roses


One of the things I enjoy in the summer-time is tending to the roses at our church building.  I am amazed each year when the bushes become full of gorgeous blooms!  I am currently spending a couple of weeks out of state, so a friend has graciously agreed to look after the roses.  

The card above is one that I made to give my friend after I get home.  It features one of the many beautiful papers from the Garden Impressions collection, that I have shown here for the past couple of weeks.  

Garden Impressions 6" x 6" (15.2 x 15.2 cm) Designer Series Paper

When a piece of paper is that pretty, it just makes sense to make it the focal point of a card!  

SIMPLE STAMPING TIP #4 - Use paper with large patterns as the focal point of your card.

I also used the coordinating Abstract Impressions stamp set for the "thank you" and for the rose in the corner on the envelope.

Abstract Impressions Photopolymer Stamp Set

This is such a beautiful and useful suite of products!  If you would like to create your own beautiful cards, you can order by following the directions under the Shop Now button.  Or simply send me an email (godismydelight@yahoo.com).

Here's another rose for you . . . this is one of my husband's heirloom roses from our backyard.


I hope that you are having a beautiful summer so far; perhaps even enjoying some roses!  Thanks for stopping here today.

Thursday, June 7, 2018

A Beautiful Day


Last week I showed you the gorgeous new Garden Impressions paper and the coordinating Abstract Impressions stamp set.  But I recently paired the paper with the Beautiful Day stamp set and was happy with the results!

Beautiful Day Wood-Mount Stamp Set
It's a simple set really, but it makes a striking impact with those big, bold images.  Plus, the two sentiments feature a pretty font and useful words.  

I watercolored the images with an Aqua Painter brush and ink pads. 

You simply take a closed ink pad and give it a good squeeze, and you end up with a little pool of ink on the inside of the lid.  Then, take an Aqua Painter and squeeze a bit of water into the ink and you are ready to color your image.  

SIMPLE STAMPING TIP #39 - Use an Aqua Painter brush and an ink pad to color stamped images.

Aqua Painters


I waited a couple of minutes to make sure they were dry and then cut them out and adhered them to my cards.  

Here is another look at the Garden Impressions paper . . . 
Garden Impressions 6" x 6" (15.2 x 15.2 cm) Designer Series Paper

I just can't get enough of this paper!  You'll be seeing more of it in upcoming blogposts!

If you have any questions about these products or techniques, send me an email.  Thanks for stopping here today!