Showing posts with label Labeler Alphabet. Show all posts

Thursday, December 21, 2017

Card for January


Most of my Christmas preparations are done and I had a little bit of time yesterday afternoon to create my "all-purpose" card for January.  Each month, I make about 8 cards (all alike) to have on hand to send at a moment's notice.  I think this card evokes a nice, cozy feeling of warmth with the quilt & hot beverage!  Who doesn't enjoy those comforts on a cold, winter day?

I used one of my favorite papers that Stampin' Up is currently offering . . . it is called Quilted Christmas and it can be found in the Holiday catalog.  However this catalog expires on Jan 2, 2018, so if you want this paper, you need to order it now!  One thing that I love about this paper is that it is not just for Christmas!  I think the gingham & the stripes could be used any time of year.  And the red/white designs would be perfect to use for Valentines day.  And the rest of the paper you could use next Christmas!  It comes in a pack of 48 6"x6" sheets and is $9.  Here is a look at the other designs:
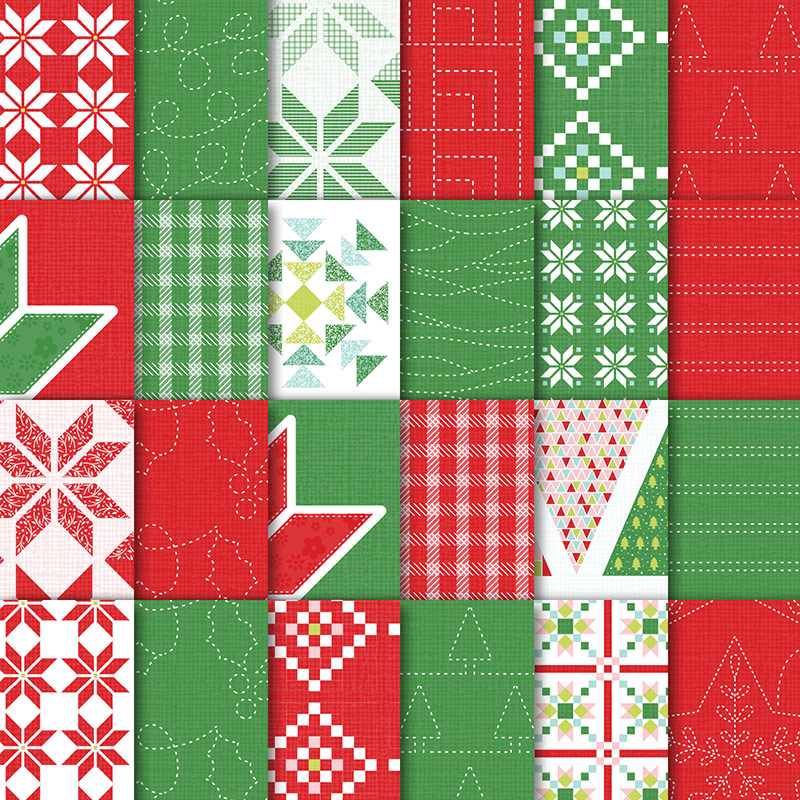
Image result for quilted christmas stampin up designer series paper

The mug image is from a very old set from Stampin' Up (Espress Yourself, 2002).  


This is Stampin' Up's current "mug" set: 
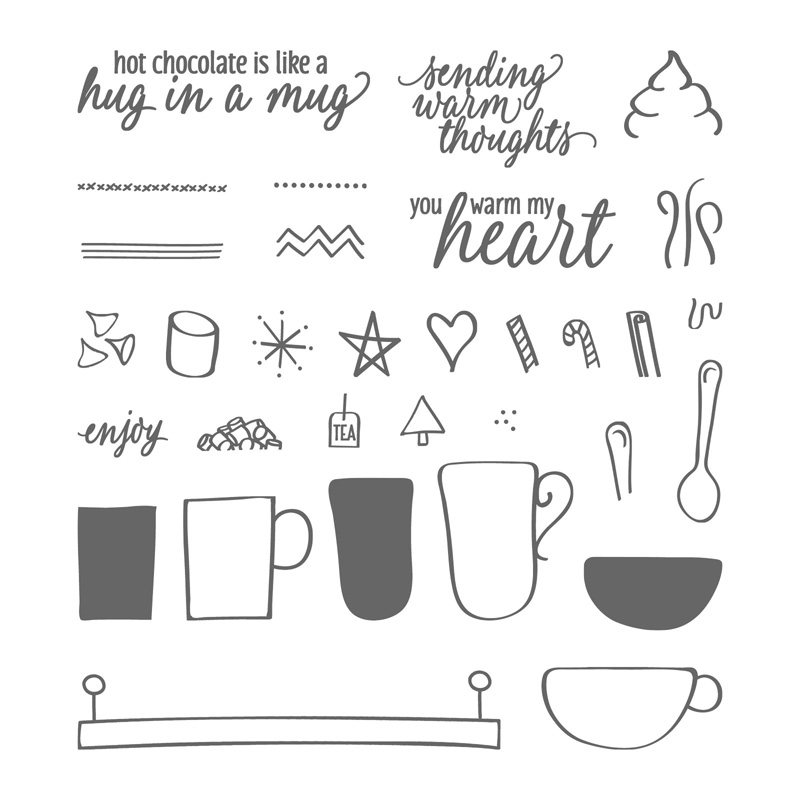
Image result for hug in a mug stampin up
It's called Hug In A Mug and it's from the Holiday catalog.  If I didn't already have a mug set, I would definitely order this one!  I see a lot of fun possibilities here.  Like the Quilted Christmas paper, it is only available until Jan 2.  It includes 32 photopolymer (clear) stamps and is $17.

The tip that I want to share today is:
SIMPLE STAMPING TIP #22 - Use markers to highlight & personalize your stamped images.

Take another look and my card & see if you can guess the 3 places where I used markers . . . 

1.  I colored in the heart on the mug.
2.  I used markers on the letters for WARM.
(I used the Labeler Alphabet; it is best to use markers on tiny little stamps.)
3.  I wrote out the words "sending" & "thoughts".

I really liked the sentiment "Sending Warm Thoughts", which is found in the Hug In A Mug set, but since I didn't have it, I could easily use my markers to write it.

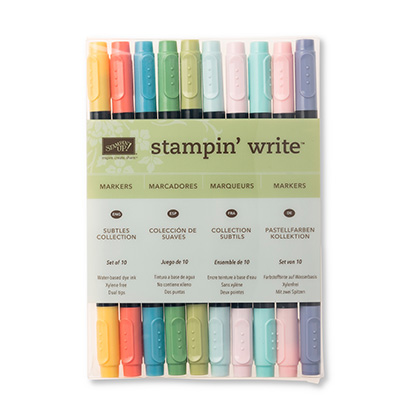
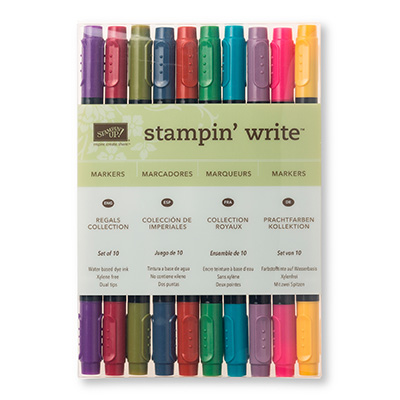
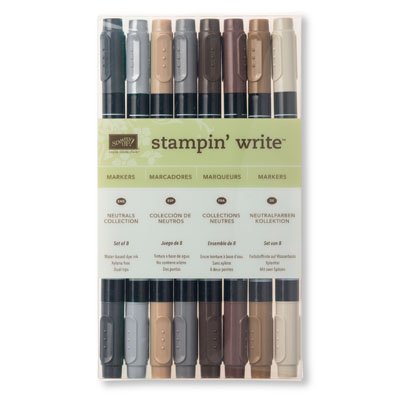
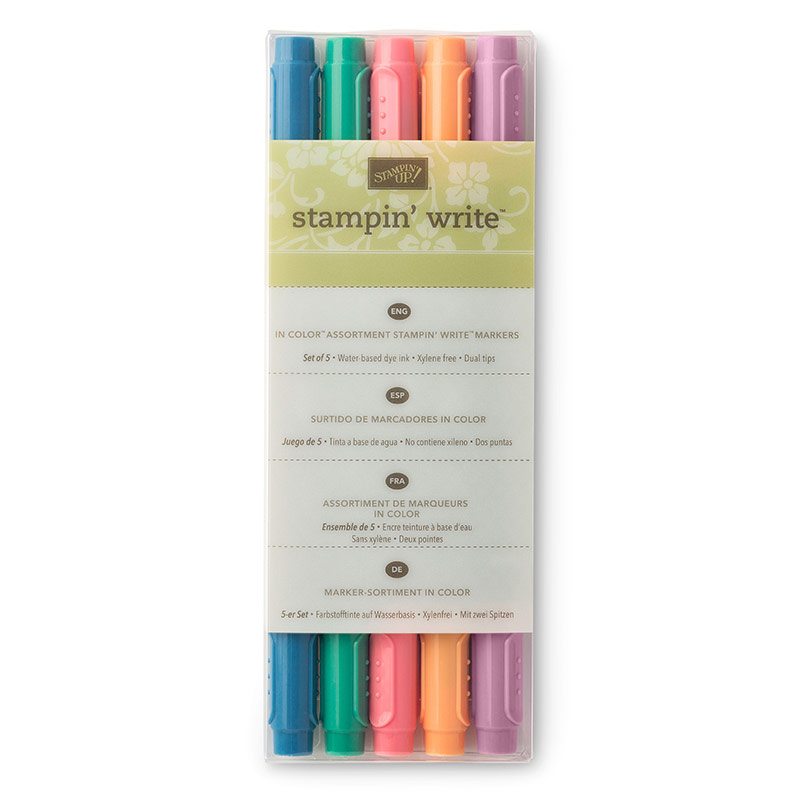
Stampin' Up's markers are dual-tipped; one is a brush tip for coloring on paper or directly onto stamps & the other end has a fine tip for writing.  There are four sets of markers available from Stampin' Up, from each of our color groups, plus two sets in our "in-colors".
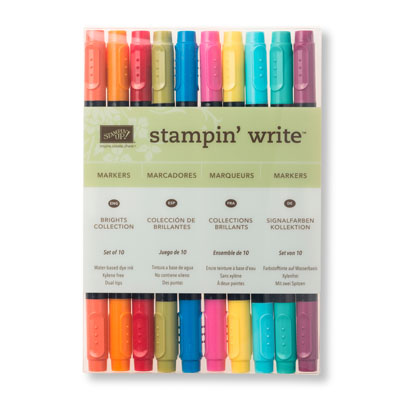
Image result for stampin up write markers
Brights Collection, set of 10, $29

Image result for stampin up write markers
Subtles Collection, set of 10, $29
Related image
Regals Collection, set of 10, $29

Related image
Neutrals Collection, set of 8, $23

Related image
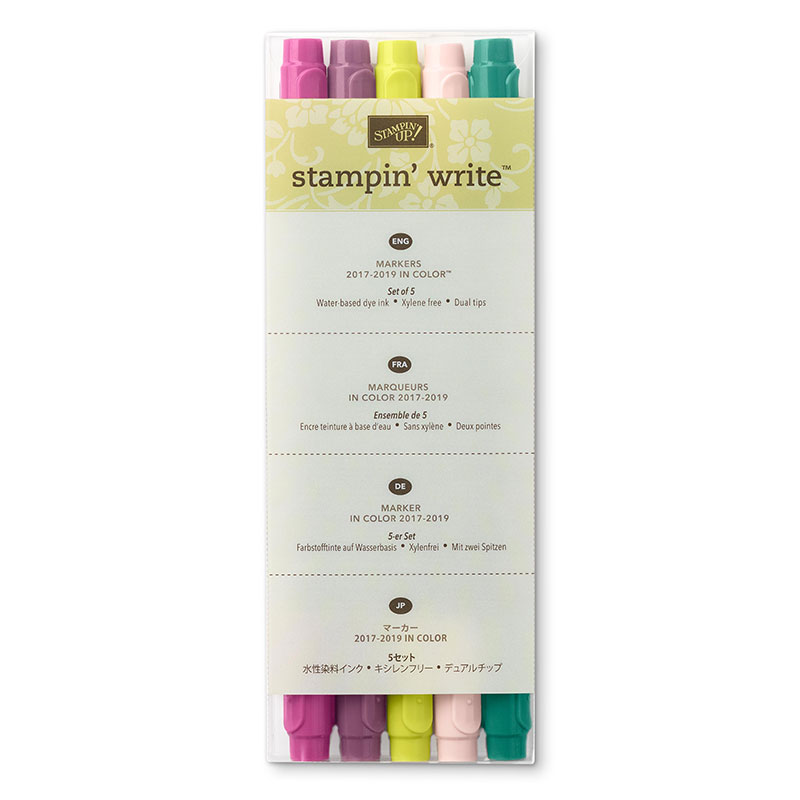
In-Colors 2016-2018, set of 5, $15

Image result for stampin up write markers
In-Colors 2017-1019, set of 5, $15


If you are interested in purchasing a set of markers or any of the other products I've shown you here, please let me know.  Thanks for taking a look at this post and I wish all of you a merry Christmas!


Thursday, October 19, 2017

Autumn Scrapbook Pages


Pete & I spent Columbus Day at the Creation Museum, just south of Cincinnati Ohio.  We had looked forward to this trip with great anticipation and we were not disappointed!

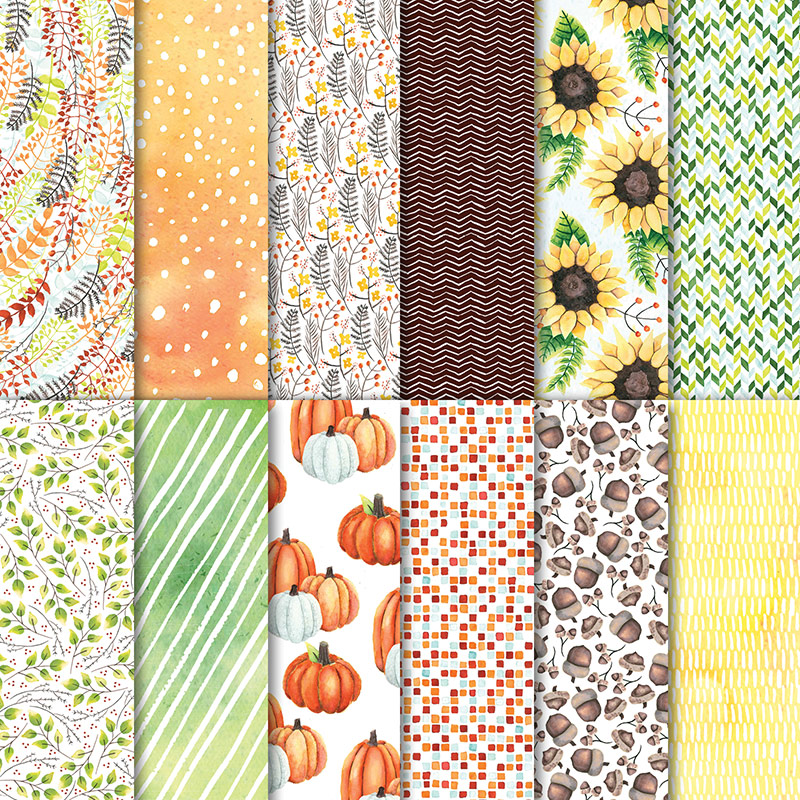
I made two scrapbook spreads of our day there; one for the outside shots and one for the inside.  The Painted Autumn designer series paper from Stampin' Up was perfect to use on all of the pages.


Image result for painted autumn designer series paper
  

I got a little creative with the title/journaling block.  When I am trying to think of ideas for interesting "decorations" for a page,  I always try to find something in the photos that I can "mimic".  So here I mimicked the zipline!  I used the Labeler Alphabet set and a piece of Solid Baker's Twine (Crushed Curry).  


Also, I added a stamped image of a leaf to the block.  I find that leaf rubber stamps are a perfect accent on pages with outdoor photos.  They complement the photos, without drawing attention away from the photos.  (The photos should be the main focus of your page, not your decorations!)  The leaf that I used is from a retired set, but there are several stamp sets that feature leaves in our current Annual Catalog (Vintage Leaves - p 125, Colorful Seasons - p 147, as well as many of the floral stamp sets). 

The photos on the "indoor page" did not turn out as well as I would have liked because most of the displays were behind glass.  But it was an important part of our visit to the museum, so I wanted to include those anyway. 

The paper from this collection with the little squares reminded me of ancient tiles, so I thought it would work well with these photos.  


I used the Labeler Alphabet set again.  This time I used it for just the first letter on my journaling blocks.  And here is another subtle use of repetition . . . the square shape on the alphabet stamps matches with the squares on the paper.  


Here is a way to add words to paper that has a "busy" design . . . just print them on blocks and cut them out.


So, here is a list of the tips that I used that you might find useful in creating your own scrapbook pages:

SIMPLE STAMPING TIP # 3 - - - Look for elements (colors, accents, etc) in your photos that you can repeat on your page.
(I use this tip on every scrapbook page.)

SIMPLE STAMPING TIP # 17 - - - Use leaf rubber stamps as accents on your outdoor pages.

SIMPLE STAMPING TIP# 18 - - - Use an alphabet stamp to capitalize only the first letter of your journaling.

SIMPLE STAMPING TIP # 19 - - - Print the words of your journaling on a strip of paper and cut them out to use on "busy" background paper.


If you are ever travelling near Cincinnati, I recommend that you stop at the Creation Museum.  There is so much to see and do there.  We were there all day, and still didn't see everything.  Which means that we will be going back for another visit!

Thanks for stopping by my blog today!  All of the products that I mentioned can be found in the catalogs in the right sidebar.  If you have any questions, you can email me at godismydelight@yahoo.com.

Thursday, September 28, 2017

Fox & Squirrel In The Autumn


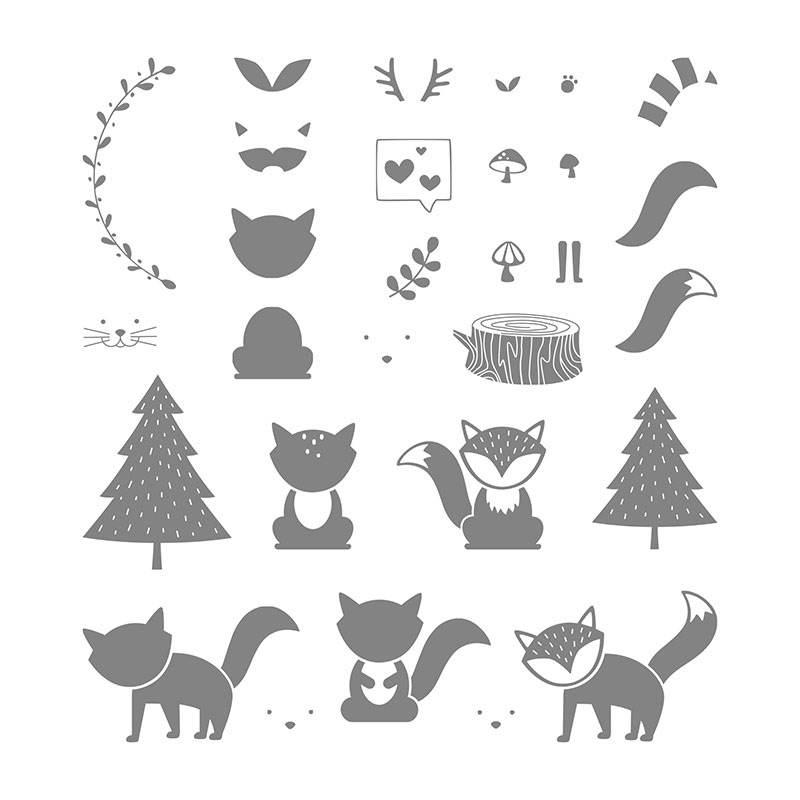
I am continuing to have fun playing with the new Painted Autumn paper from Stampin' Up's Holiday catalog.  Here, I paired it with some animals that I created using the Foxy Friends stamp set and the coordinating Fox punch.  Obviously, you can make other animals besides foxes with this stamp set!
Image result for foxy friends stampin up
It may be hard to tell from these photos, but for a little touch of extra fun, I "popped up" the heads of both the squirrel & the fox using our Stampin' Dimensionals foam dots.  


This is actually a little thing that I add to a lot of my cards.  It works great for any punched shape and especially flowers.  It is a quick and inexpensive way to make any card a little more interesting!  Stampin' Up sells these in a pack of 300 for $4.00.  

SIMPLE STAMPING TIP #14:  Use dimensional dots to lift up punched images or large stamped images.

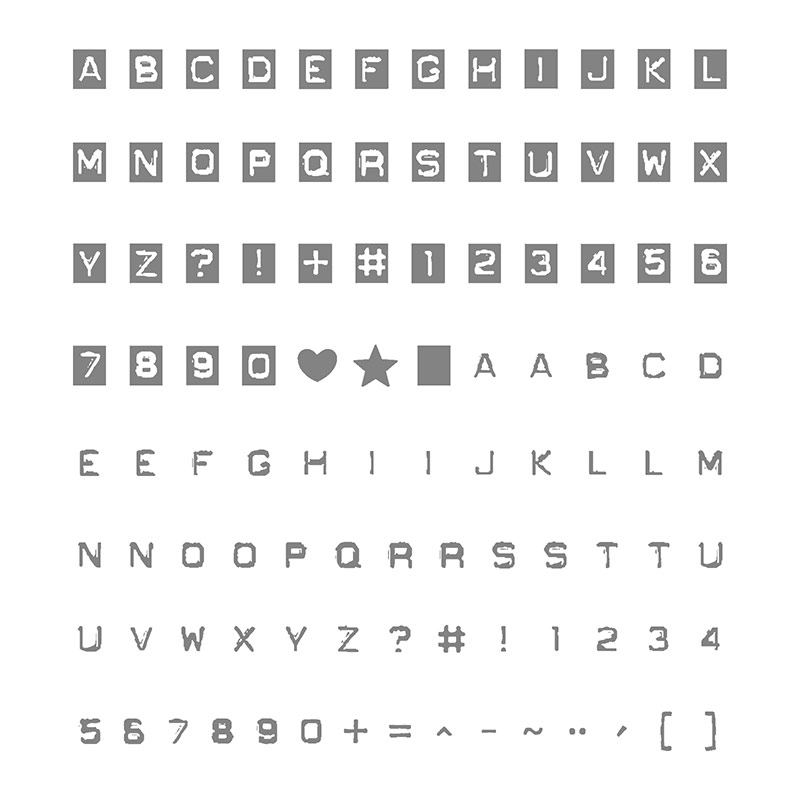
For the words, I made up my own greetings using the Labeler Alphabet set.  These little letters have sort of "rough" edges to them, which I think looks good with the rustic designs of the paper.
Image result for labeler alphabet stampin up

Here is a look at all of the designs in the Painted Autumn paper collection.  
Image result for painted autumn designer series paper stampin up

I hope you feel inspired to create some of your own cards to send out this autumn.  You can order all of the products that you see here by following the directions under the "shop now" button in the sidebar.  Or you can contact me (godismydelight@yahoo.com) and I will be happy to order them for you.

I hope to see you again here next week!