Showing posts with label Brushwork Alphabet. Show all posts

Thursday, August 31, 2017

Lake Michigan Scrapbook Page


Pete and I recently enjoyed one last summer outing.  We had a very nice day out in South Haven, on the coast of Lake Michigan.  It was our first visit to this picturesque town and we were excited to explore!  

I just completed this scrapbook page so that we can easily remember our experience there (which is harder to do if your photos only stay in your computer or on your phone!).  Today I want to share with you a couple of tips that I used to create this simple page.

SIMPLE STAMPING TIP #10:  Print some of your photos as "wallet sizes", in order to fit more photos on a page.

"

Not only will you be able to use more photos, you can also place them so that they overlap some of the "blank" spaces in larger photos, like I did here with the sailboat photo.  

SIMPLE STAMPING TIP #11:  Use vellum when you need a perfectly neutral color and also as an element on water pages.


As I looked at the photos I wanted to use on this page, I could not think of any color that would look right for my title block.  I was stumped for awhile, until I happened to think of vellum cardstock.  As soon as I pulled it out, I knew it would work!  If you look closely, you will see that I tore the left & right edges, to create a look that mimics the waves in the water.
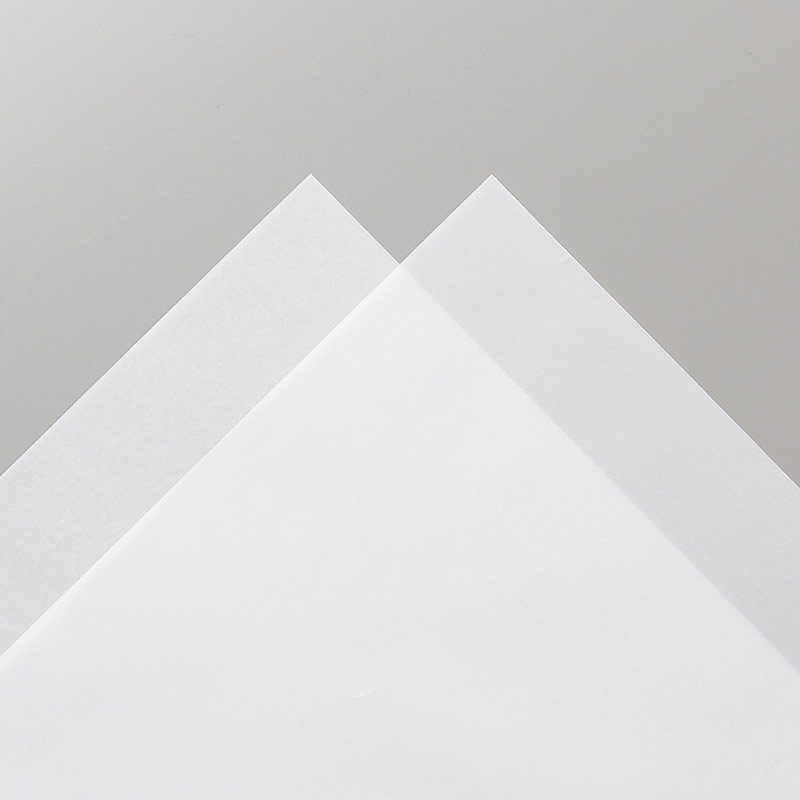
Image result for vellum cardstock stampin up
The vellum looks rather un-impressive in the photo above, but it looks amazing when used on cards and scrapbook pages. It is translucent and is perfect for a subtle, delicate touch.   Stampin' Up sells it in a pack of 20 8 1/2 x 11 sheets for $8.00.  

I had so many photos I wanted to use, that there wasn't room for many embellishments.  (The photo of Clementine's is actually a postcard.)  The only stamps I used were alphabet stamps for the title and as the first letters in my journaling blocks.  I added just a bit of color with the tiny red strips on my journaling blocks, which goes with the red in the lighthouse, Pete's shirt, & the bricks of the restaurant.  I tied some linen thread on the title strip, which is inspired by the rope that is in the photo of the harbor.  As always, look at your photos to get ideas for how to embellish your page.  

I hope that those are useful tips for anyone reading this who is interested in scrapbooking.  My goal for this blog is to show you that it doesn't take a lot of supplies, time, or money to create meaningful pages and cards!  Please let me know if I can be of any help to you in your stamping or scrapbooking projects.  (email address:  godismydelight@yahoo.com).

Thursday, July 13, 2017

Scrapbook Pages with Delightful Daisy Paper (and a giveaway)


My very favorite accessory to use in stamping or scrapbooking is patterned paper.  It is versatile and inexpensive.  Most of our 12" x 12" paper costs $11 for a pack of 12 double-sided sheets.  I've already shown in previous posts my favorite paper from our Stampin' Up catalog.  It is called Delightful Daisy and the images are so perfect for summer!  This was the first item I purchased out of the new catalog, and I've already created several projects from this one pack.  And I still have a lot of paper left for more projects!

My husband & I recently took our oldest two grandaughters with us on a trip to visit our parents.  The trip was nine days long, and you can imagine that we took a lot of photos!  The pages above show the fun that we had.  

I made one page that was about the drive itself.  It was about 9 hours each way, so we had lots of time to make memories in the car!  Then I made a page from our visit with Pete's parents and a page from our time with my mom and her husband.  To keep things simple and to create a cohesive look, I used the same colors, papers, & stamps on each page.  This also helped the pages to come together pretty quickly.  The stamp set I used for the titles is the Brushwork Alphabet set. Here is a tip that I always use on my pages:

SIMPLE STAMPING TIP #5:  Cut "un-necessary" parts out of photos.  Arrange photos on page and fill in empty spaces with patterned paper.

There are a lot of other embellishments that could be added to dress up scrapbook pages (and occasionally I use more), but I find that by using a minimum amount of embellishments, the focus stays on the photos.  Plus, it makes it a lot faster to get pages done!


Here is a look at all 12 designs that come in this pack of paper.  Aren't they pretty?  I would like to give away a pack of this paper to one of my subscribers.  So if you haven't subscribed yet and would like a chance at winning this beautiful paper, look to the right for where it says "Follow By Email".  Enter your email address in the box and click "submit".  You will receive an email confirmation shortly afterwards, to which you will need to respond to.  (If the email doesn't show up in your in-box, check your spam box.)  I will randomly choose a winner next Thursday, July 20, at 10:00 am, EST.  If you are the lucky winner, I will notify you by email.  So, subscribe to win!

Here are a few more of the many cards that I've used with this paper:


Here is a reminder of the special that is going on this month at Stampin' Up.  If you place a $50 order, you will receive a $5 coupon code that can be used on an order in August.  You can order by browsing the catalog on the right and then clicking the Shop Now button.

I will be back next week to share another simple stamping tip and to announce the winner of our give-away!