Thursday, August 31, 2017

Lake Michigan Scrapbook Page


Pete and I recently enjoyed one last summer outing.  We had a very nice day out in South Haven, on the coast of Lake Michigan.  It was our first visit to this picturesque town and we were excited to explore!  

I just completed this scrapbook page so that we can easily remember our experience there (which is harder to do if your photos only stay in your computer or on your phone!).  Today I want to share with you a couple of tips that I used to create this simple page.

SIMPLE STAMPING TIP #10:  Print some of your photos as "wallet sizes", in order to fit more photos on a page.

"

Not only will you be able to use more photos, you can also place them so that they overlap some of the "blank" spaces in larger photos, like I did here with the sailboat photo.  

SIMPLE STAMPING TIP #11:  Use vellum when you need a perfectly neutral color and also as an element on water pages.


As I looked at the photos I wanted to use on this page, I could not think of any color that would look right for my title block.  I was stumped for awhile, until I happened to think of vellum cardstock.  As soon as I pulled it out, I knew it would work!  If you look closely, you will see that I tore the left & right edges, to create a look that mimics the waves in the water.
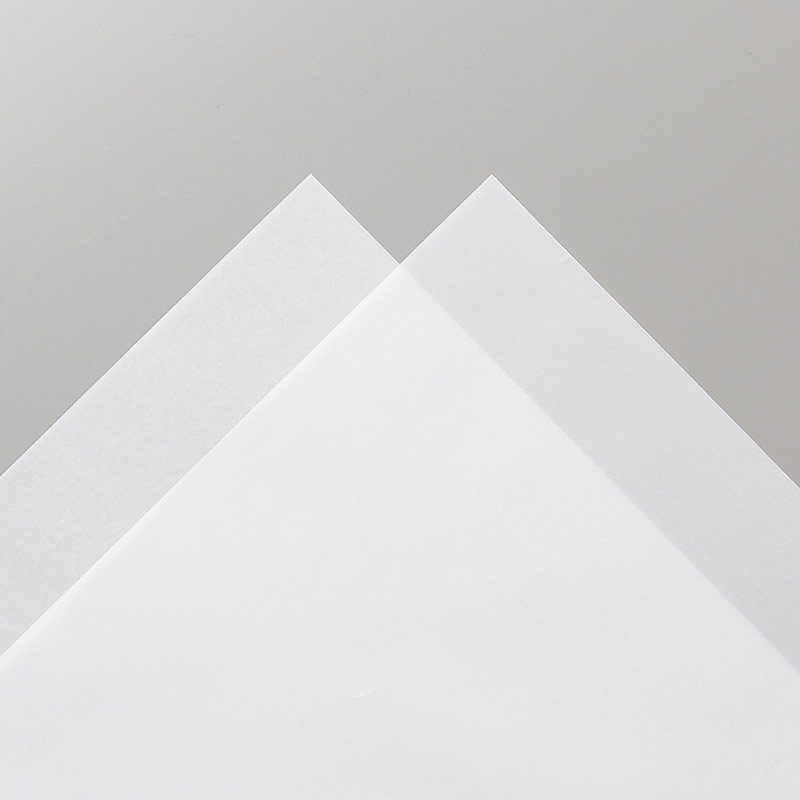
Image result for vellum cardstock stampin up
The vellum looks rather un-impressive in the photo above, but it looks amazing when used on cards and scrapbook pages. It is translucent and is perfect for a subtle, delicate touch.   Stampin' Up sells it in a pack of 20 8 1/2 x 11 sheets for $8.00.  

I had so many photos I wanted to use, that there wasn't room for many embellishments.  (The photo of Clementine's is actually a postcard.)  The only stamps I used were alphabet stamps for the title and as the first letters in my journaling blocks.  I added just a bit of color with the tiny red strips on my journaling blocks, which goes with the red in the lighthouse, Pete's shirt, & the bricks of the restaurant.  I tied some linen thread on the title strip, which is inspired by the rope that is in the photo of the harbor.  As always, look at your photos to get ideas for how to embellish your page.  

I hope that those are useful tips for anyone reading this who is interested in scrapbooking.  My goal for this blog is to show you that it doesn't take a lot of supplies, time, or money to create meaningful pages and cards!  Please let me know if I can be of any help to you in your stamping or scrapbooking projects.  (email address:  godismydelight@yahoo.com).

Thursday, August 24, 2017

A "Whole Lot Of Lovely" Cards for September


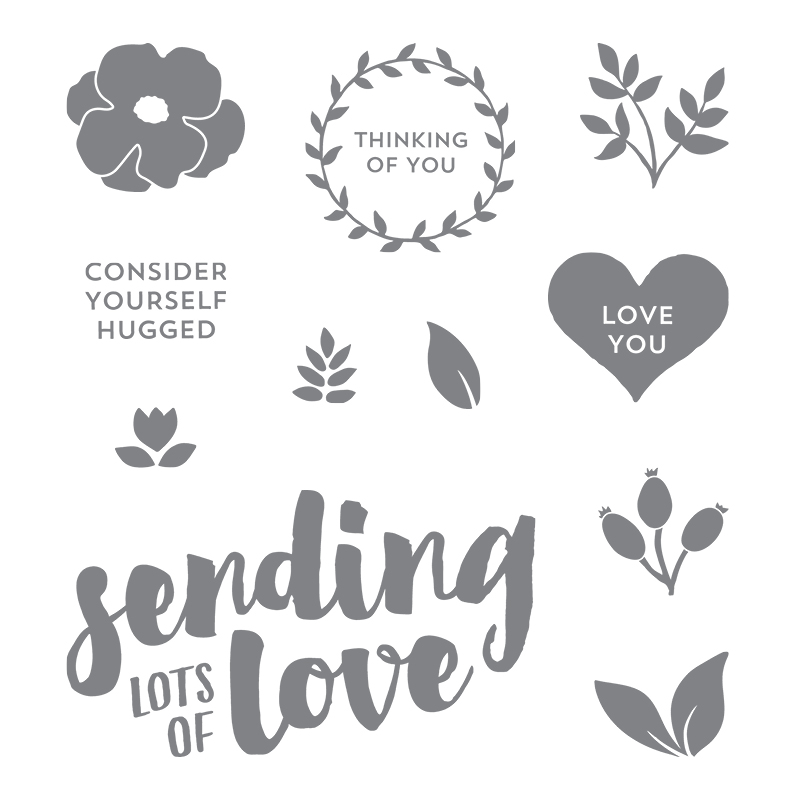
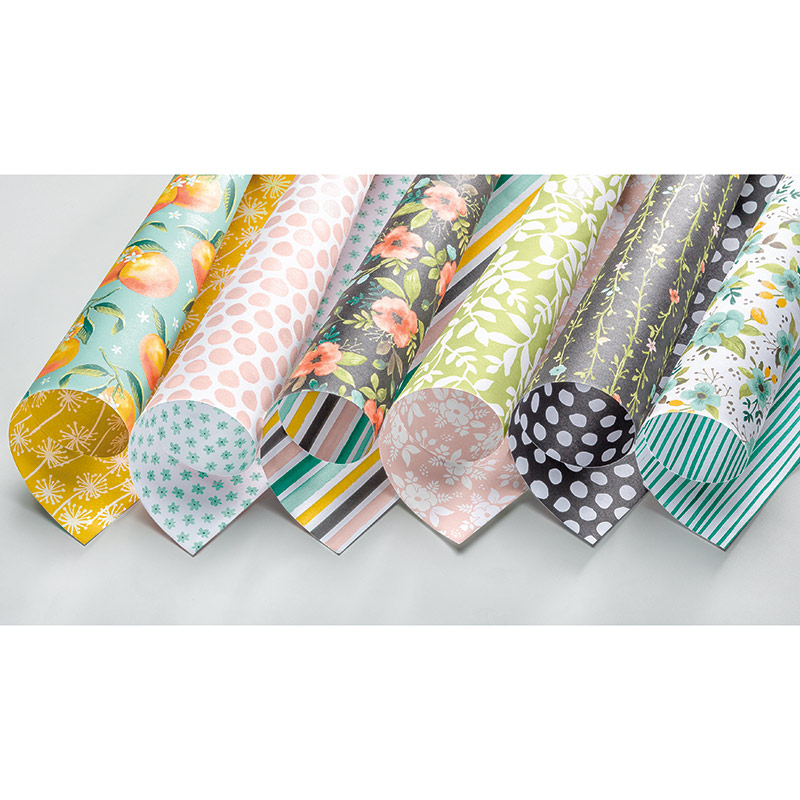
Children in our town started back to school this week and summer is winding down.  I have been making a few cards to use as my "all-purpose" cards to have ready to send out in September.  These are all made using the "Whole Lot of Love" patterned paper & the coordinating stamp set called "Lots of Love".  

SIMPLE STAMPING TIP #2:  Stamp a stack of cards each month to have ready to send.

I used the same elements on all three cards:
  • a 4 1/2" square of paper 
  • coordinating ribbon & cardstock
  • the "Sending Lots Of Love" stamp

Here is a closer view of the paper & stamp set:

Image result for lots of love stampin up
Image result for whole lot of lovely stampin up


These are the same products that I showed you last week on this scrapbook page.  I love when I can use the same products on multiple projects!


If you haven't tried rubber-stamping before, these products would be perfect for you to begin with.  The stamp set consists of basic images that can be used on any kind of card and the paper is just simply "lovely".  Of course, even if you are a long-time stamper, you will enjoy using these products as well!

You can order by following the directions listed in the right sidebar under "Shop Now".  If you have questions, you can ask in the comments section below or email me at godismydelight@yahoo.com.  See you again next Thursday!


Thursday, August 17, 2017

Scrapbooking With Lots Of Love


It's hard for me to believe that it's been nearly three years since I visited my relatives in Pennsylvania!  I usually try to get my photos into scrapbooks soon after they are taken, but I really put off making a page with these photos, mainly because I wasn't satisfied with the quality of the pictures. ("High-quality people in low-quality photos" was a caption I read recently and which applies here!)  But it was such a meaningful trip, that I knew that I needed to make this page. This was the last time I saw my sweet Aunt Dot, who suffers from Alzheimer's disease.  Not long after my visit, she rapidly declined and went to live in a care facility.  I will always be thankful that I was able to spend these few days with her.  

So a couple of days ago, I spread the photos out on my desk.  And I was stuck for quite awhile!  My usual techniques of creating a page weren't working.  There were no predominant colors or repeating elements in the photos.   I couldn't come up with a good arrangement of the photos, no matter how much I moved them around.  I looked through my newest purchases from Stampin' Up and pulled out a beautiful pack of patterned paper called Whole Lot of Lovely, along with the coordinating stamp set, Lots of Love.  I knew when I saw those items, that they had the "feeling" that I wanted to convey.  So I set to work, playing around and gradually my page came together.  Here's a list of what I like about this page:
  • Using black cardstock as the background gives a classic look to the page and causes the yellow & white accents to stand out.
  • The words on the Tres Chic background stamp (retired) express perfectly my feelings when I think about these family members (memories, happiness, genuine, adore, laugh, together, heartfelt, etc).
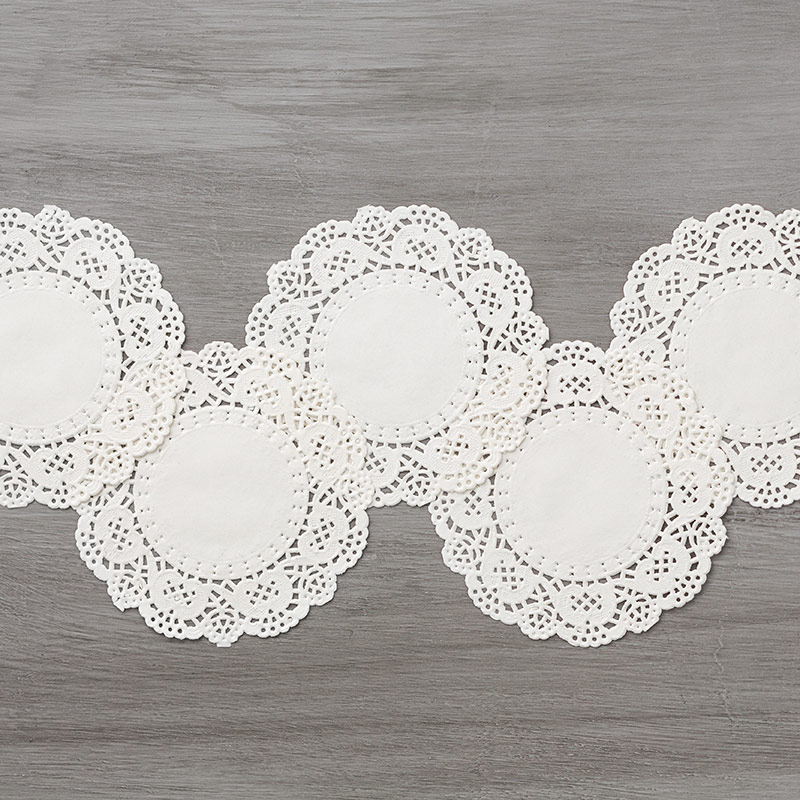
  • The paper lace doilies help to soften the bright yellow pieces & the larger photos.  They are simple accents, but give a lot of impact to this page.  (By the way, a pack of 24 of these little doilies only costs $3; a very inexpensive way to dress up your scrapbook pages & cards!)

Now that I finally have these photos on a scrapbook page, I don't even notice the fuzziness of some of the photos!  What I do notice is the way my heart is full of warmth and love for these sweet family members!

Here is a closer look at some of the products I used:
Image result for lots of love stampin up
Image result for whole lot of lovely stampin up
Image result for delicate white doilies stampin  up

Here is my simple stamping tip for this week:

SIMPLE STAMPING TIP #9:  Group your accents on scrapbook pages in "threes".

 Take another look at my page & notice how I placed my doilies in three different places, as well as my yellow accents.  


Thanks for reading my post today; I hope you feel inspired to make a scrapbook page with some of your photos (even if they are of "low-quality")!  If you need any supplies, you can browse through the catalog by clicking on the catalog image in the sidebar and then following the ordering instructions under "shop now".  Please let me know in the comments below or by email (godismydelight@yahoo.com) if you have any questions.

Thursday, August 10, 2017

Inspired By A Dress


Not long ago, my youngest grandaughter was wearing this cute dress.  It reminded me of a stamp set (called "Happy Birthday Gorgeous) that had been on my wish list for awhile.  Seeing her with that dress was the motivation I needed to go ahead and order it!

When the stamp set arrived, I kept thinking about that dress and wanted to make a card using the same colors.  I decided to create my own "background paper" by stamping the flowers all over a square piece of white cardstock. To make the background that pretty turquoise color, I simply sponged on some turquoise ink.  For embellishment, I added the ribbon and just a bit of a paper lace doily.  What I like about this card is how the scallopped edges of the roses are repeated in the doily and the label.  I also like the bright happy colors!

So today's stamping tip is:

SIMPLE STAMPING TIP #8:  Make your own background paper by stamping images all over a piece of cardstock.  Add subtle background color by lightly sponging  on ink in your desired color.

If you would like to try this simple technique, all of the supplies are in the Stampin' Up catalog.  You can browse through it by clicking on the catalog image in the sidebar.  Or if you would rather hold an actual catalog in your hands, email me (godismydelight@yahoo.com), and I will be happy to put one in mail to you!


Thursday, August 3, 2017

A "Shabby Chic" Card


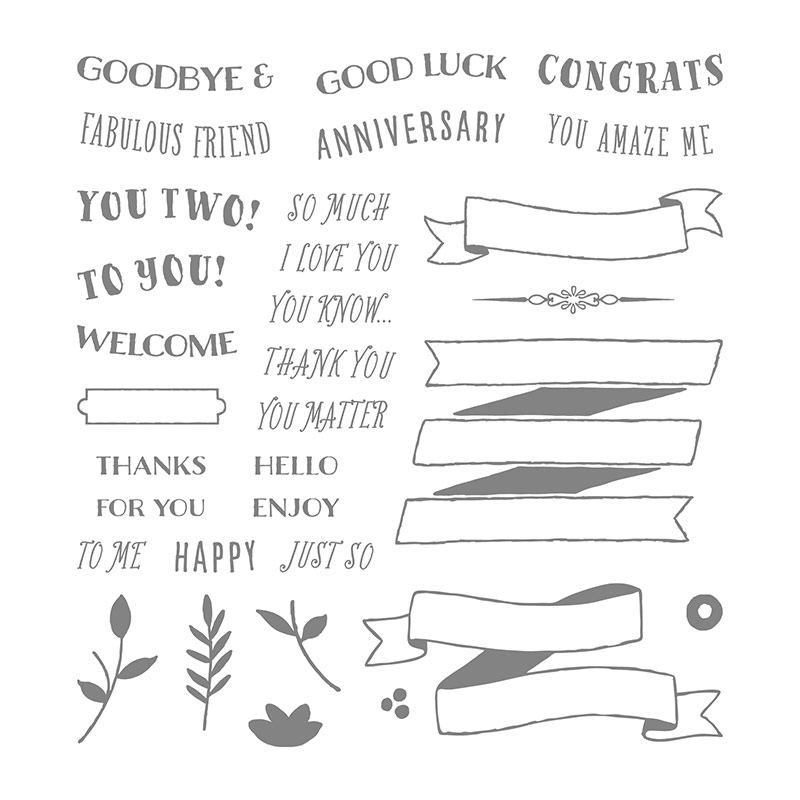
This is the card that I sent to my mom and her husband after we spent a few days with them earlier this summer.  It features the Wood Textures patterned paper and the Banners For You stamp set.  

The pack of paper includes several sheets of lighter wood, which is perfect for stamping directly on, which is what I did with the flowers, giving it that "shabby chic" look.

SIMPLE STAMPING TIP #7:  Stamp directly onto lightly-colored patterned paper. 

Here is the card I shared here a couple of weeks ago, using one of the darker shades of wood.

This paper can be used in so many different ways . . . it goes with any style, any color, any stamp set, etc.  Plus it works for both masculine or feminine cards.  This is a "must-have" item if you enjoy paper-crafting!  The price is $10 for a pack of 48, double-sided 6"x6" sheets.

Item # 144177

The Banners For You stamp set contains a lot of fun sentiments, plus some pretty flowers to dress up the banners.

Image result for banners for you stampin up
Item # 141710

Ordering is quick & easy . . . just look in the sidebar and follow the steps under "Shop Now".  

By the way, here is a photo of my mom & her husband, James.  They both enjoy working in the kitchen and they treated us to a lot of delicious food while we were there!